
Are you ready for writing this year? This post will take you through ten steps to prepare your classroom for writing workshop. If your room or writing center is ready and you show enthusiasm towards writing time, your reluctant writers will be curious and excited about your writing class! I LOOOOVVVVEEEE writing and hope you will too after this post!
To begin, collect the supplies for for your students as well as supplies for your writing center and groups.
Supplies:
- 1 composition notebook for each student- 100 sheets (200 pages- front/back)

- 2 pocket folders per student (3-prongs)

- Clothespins (1 per student)
 or color ones:
- 10 1 inch metal binder rings
 or color ones:
- 2 binder clips

- Chart paper

- Post Its or Redi-Tags:
 or
or 
Directions:
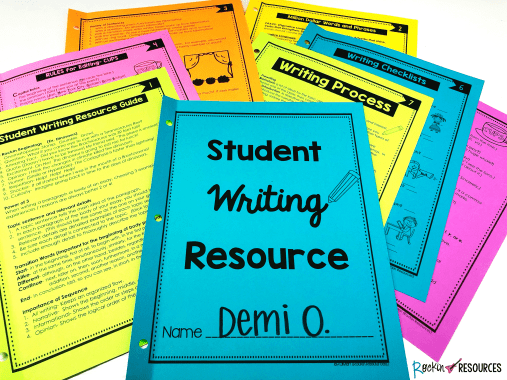
1. Print Free Spelling Dictionary and any writing resources you have for students.
Use one of the folders and place the resource pages in the fasteners and the spelling dictionary in one of the pockets. There are links below!

A List of Students Resources helpful for Writing Workshop:
1. 10 Exciting Beginnings
2. Power of 3
3. Topic Sentence and Relevant Details
4. Transition Words
5. Importance of Sequence
6. Million Dollar Words and Phrases
7. Figurative Language
8. Variety of Sentences
9. Audience
10. Purpose
11. Dialogue
12. 10 Ways for Strong Conclusions
13. Capitalization Rules
14. Usage Rules
15. Punctuation Rules
16. Spelling Rules
17. Writing Process
18. Writing Checklist
19. Million Dollar Dictionary
20. Character Traits
If you need Students Resources, click below. If you purchased an interactive notebook, Student Resources ARE included!
Free Spelling Dictionary!

2. Laminate and Post Writing Process Posters.
Laminate them. Use small metal binder rings or ribbon to attach each poster to the next. You can use large binder clips to attach them to the wall or bulletin board to keep them away from the wall a bit. Don’t staple them onto the board! You want the posters to stick out so the clothespins will work effectively.
Write student names on the clothespins and instruct them to move their name down the bulletin board according to their current writing step. You can paint your clothespins to match your decor or get the colored ones. This will show where students are in the writing process at a quick glance. It is especially helpful during teacher or peer conferencing.
1. Prewriting
2. Rough Draft
3. DARE to Revise
4. CUPS for Editing
5. Peer Reflection
6. Final Copy

Click on the pic below. There are a few different versions for free!

3. Create a space in the classroom for a writing center.
Include:
stapler
white out
markers
thesaurus
tape
glue
4. Print off writing anchor charts for the week of lessons.
Post these resources in your writing center or bulletin board. Laminate to preserve them for several years. I have some in my store HERE.
5. Create something for students to write the titles of each of their published stories.
Chain links are fun!
6. Set up a Writer’s Notebook
A. Create a cover page. I usually ask students to do this for homework the first week of school. Use clear packaging tape to seal it! Ask volunteers to help seal the notebooks. They will last much longer! This video shows how to put a cover together.
B. Make tabs: I have these free in my store! There are tabs for Ideas, Sentence Structure, Paragraph Writing, Narrative Writing, Opinion Writing, and Informative Writing. There are smaller tabs for revising and editing within each type of writing. There are cover pages to use with them too!
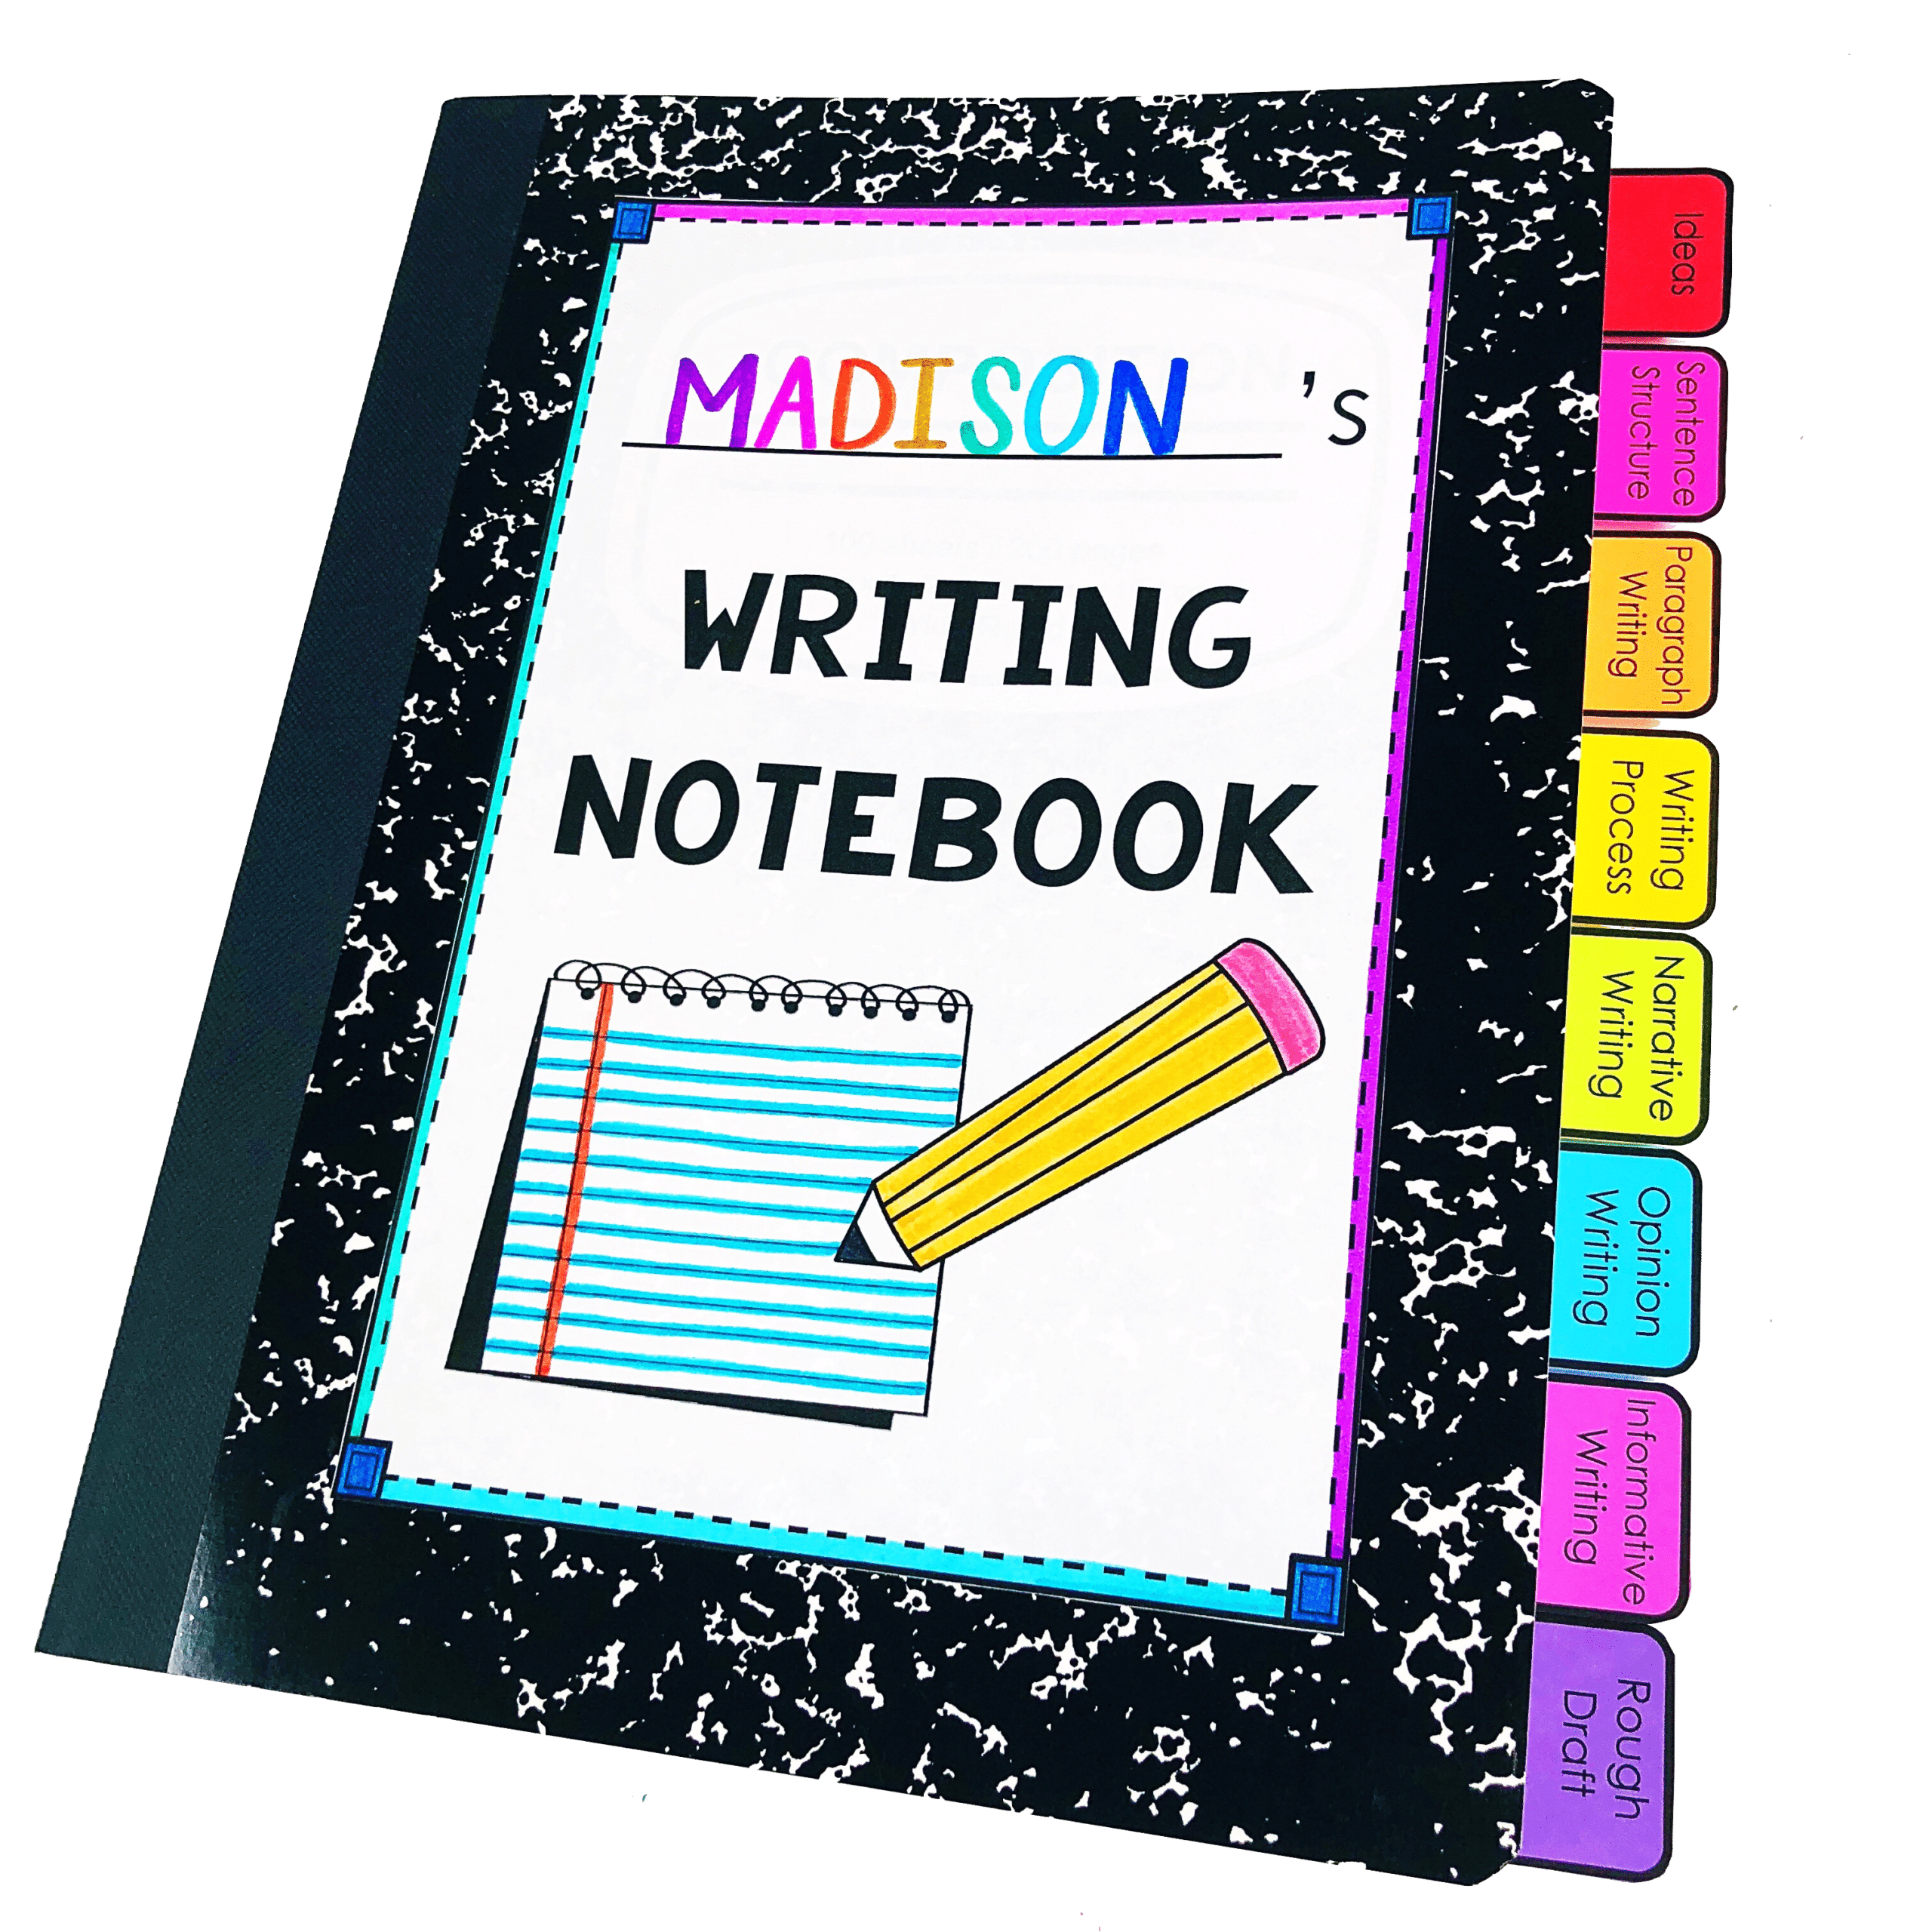
Or make your own tabs! Redi Tags are the easiest but more expensive than Post Its. For Post Its, cut them in strips. Fold them over once. Use clear packaging tape and place it on both sides of the tab and both sides of the page so it looks like it is a laminated piece.


C. Create a Table of Contents
Start the table of contents on the first page. As students learn each mini lessons, they number their pages and keep track on the Table of Contents page! Students should copy from your table of contents made on chart paper.


7. Use the other folder for their published work. (Final Copies)
We call these our Writing Portfolios. Collect everything that they have published throughout the year! Poems, stories, writing across the curriculum, bulletin board pieces, etc. Place them in a folder with brass fasteners. Have volunteers file them each nine weeks and allow students to take them home for parent review. At the end of the year, they get to keep their final product! It is a great end-of-year gift! Another great idea is to set them out on table during parent/teacher conferences so parents have something to look at while they are waiting.

8. Post Writing Workshop schedule in your plan book.
10-15 min: Mini Lesson
10 min: Notebooking the lesson
30-60 min: Independent writing, conferencing, peer reflections, guided writing
10 min: Sharing
9. Post Rules for Writing Workshop
A good visual to keep noise down is to get a block and write “Writer’s Block” on it. Tell your students that we want to avoid writer’s block by keeping quiet. If I raise the block, that means it is too noisy! Have students initial it for ownership of the rule!
1. Listen and share ideas during the lesson.
2. Writing time is quiet time.
3. Take risks in writing.
4. Keep notebook neat and organized.
5. Be prepared before meeting with your peer editor.
~Writers and peers may only have one conference per writing period.
~Writers: Explain where you need help, then read your paper out loud to your editor.
~Peers: Listen to the writer, fill out observation form, and give meaningful feedback.
10. Presentations
When student publish their writing, I like them to present their work whether it is in small group or whole group. Their peers can evaluate them with presentation cards if you wish! If you have an AUTHOR’S CHAIR, perfect!

Learn how to set up your writing center!


