
Help students learn all about ALLITERATION through this step-by-step method. Once you introduce the anchor chart and students take notes, work together in a whole group. Then practice and apply using the steps. Depending on your group, you may want to differentiate with the steps. (See explanation below.) This resource is available in PDF, PowerPoint, and GOOGLE SLIDES.
WHAT IS INCLUDED?
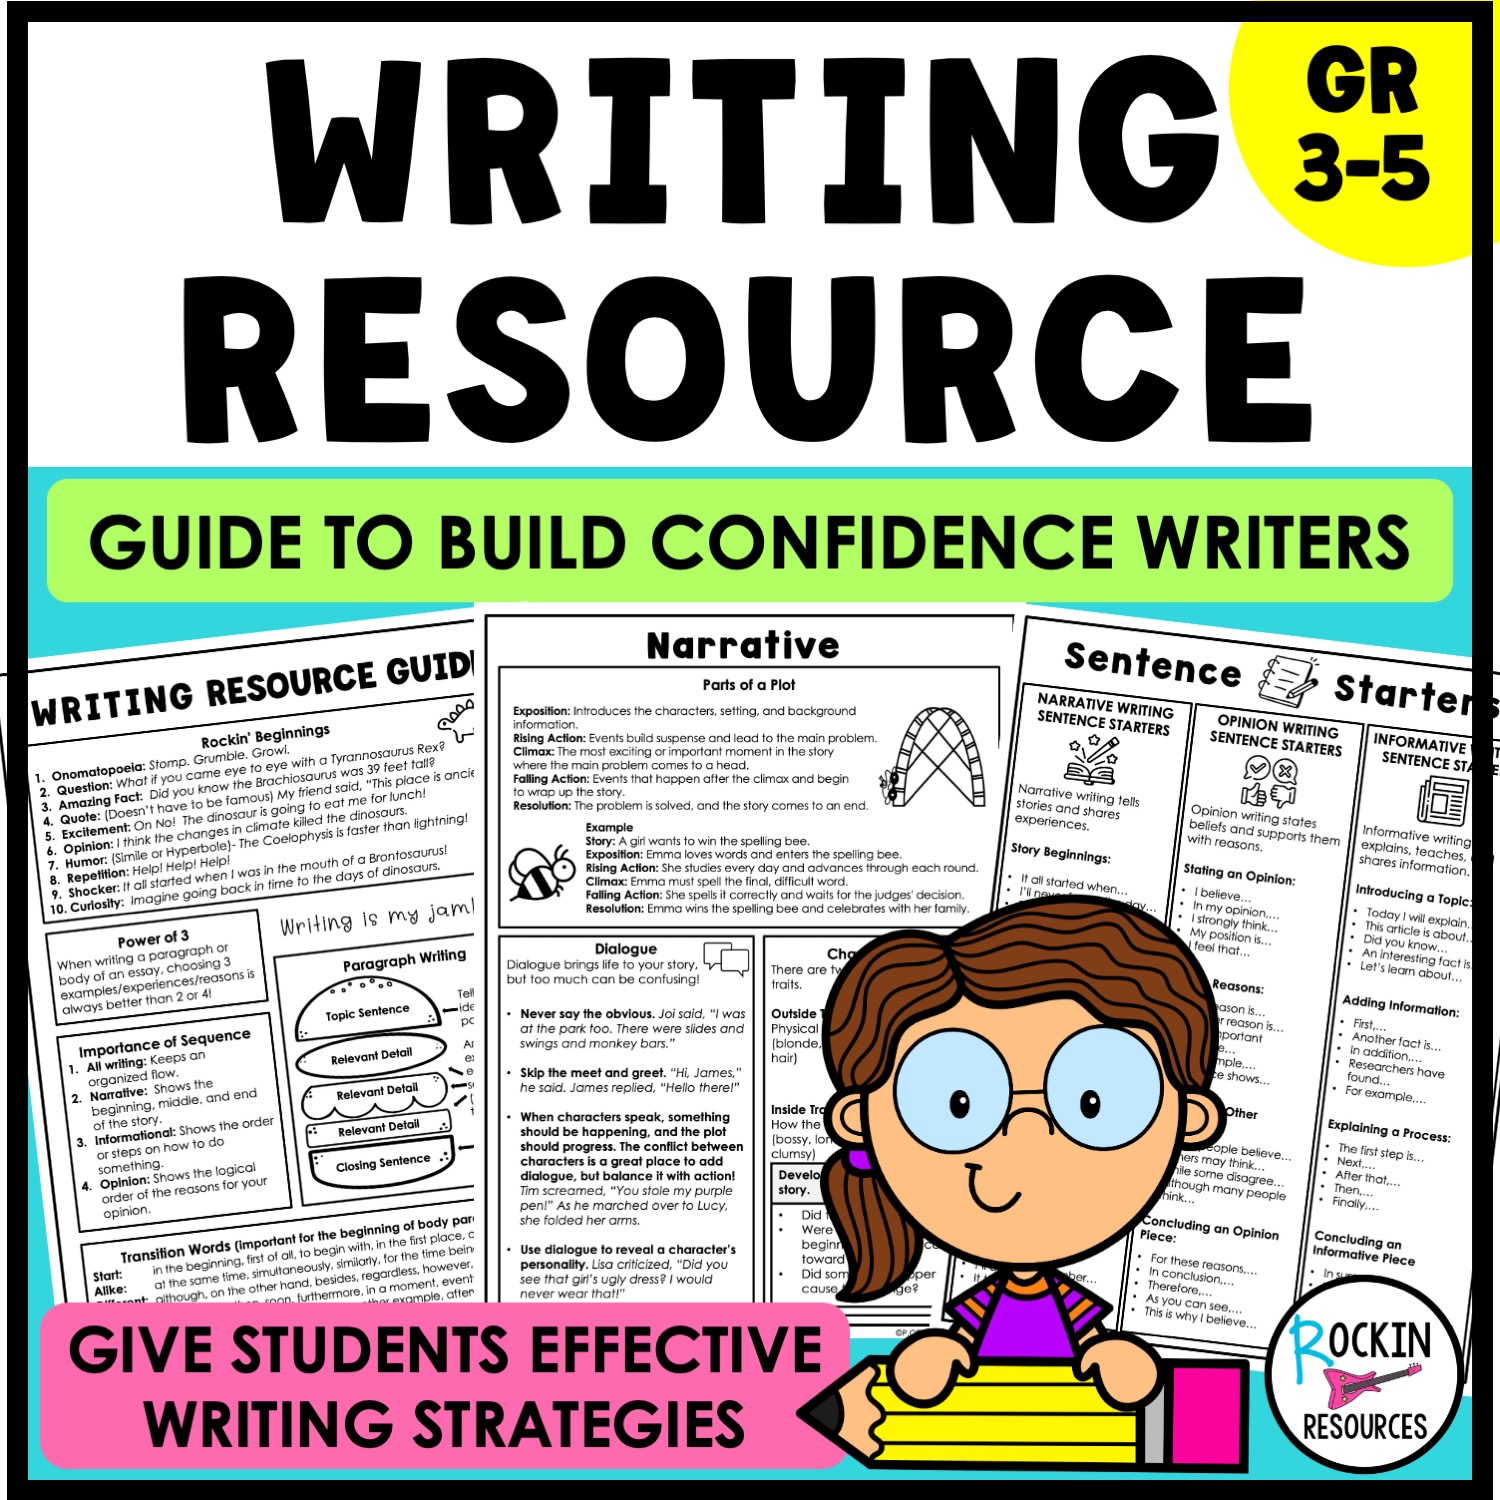
1. ANCHOR CHART: Introduce Alliteration by using the anchor chart. Many tongue twisters rely on alliteration. Practice the tongue twisters. What sound is being used in each one? Example: Peter Piper picked a peck of pickled peppers.
2. MENTOR TEXT: Use mentor text to point out alliteration. See the list above for some examples. Have students find alliterations. (See the graphic organizer)
3. NAMES AND LYRICS ACTIVITY: Did you know that alliteration is found everywhere? You can find them in fictional characters, public figures, advertising, and lyrics! Why? They are catchy and memorable! (A list of alliteration from public names, fictional names and advertising included.) Use the GRAPHIC ORGANIZERS for research. There are more graphic organizers at the end of the unit to use when students are ready to write their own alliterations.
4. TAKE NOTES: Printable: Choose one of the interactive notebook pages or use the mini-anchor chart for the student notebooks. GOOGLE AND PPT: Fill in the boxes.
5. ILLUSTRATIONS: Illustrate the alliteration in each section. (Not included in digital)
6. PRACTICE: The practice is set up in a step-by-step process with #1 practice being the easiest. Use all three practices OR DIFFERENTIATE: You may opt to use Practice 1 for struggling students, Practice 2 for students on level, and Practice 3 for higher achievers. There is also a graphic organizer that can be used for this level of practice.
PRACTICE 1- STEPS 1-3
PRACTICE 2- STEPS 1-4 (MORE DIFFICULT PRACTICE AND STORY)
PRACTICE 3- STEPS 1-5 (MOST DIFFICULT PRACTICE AND STORY)
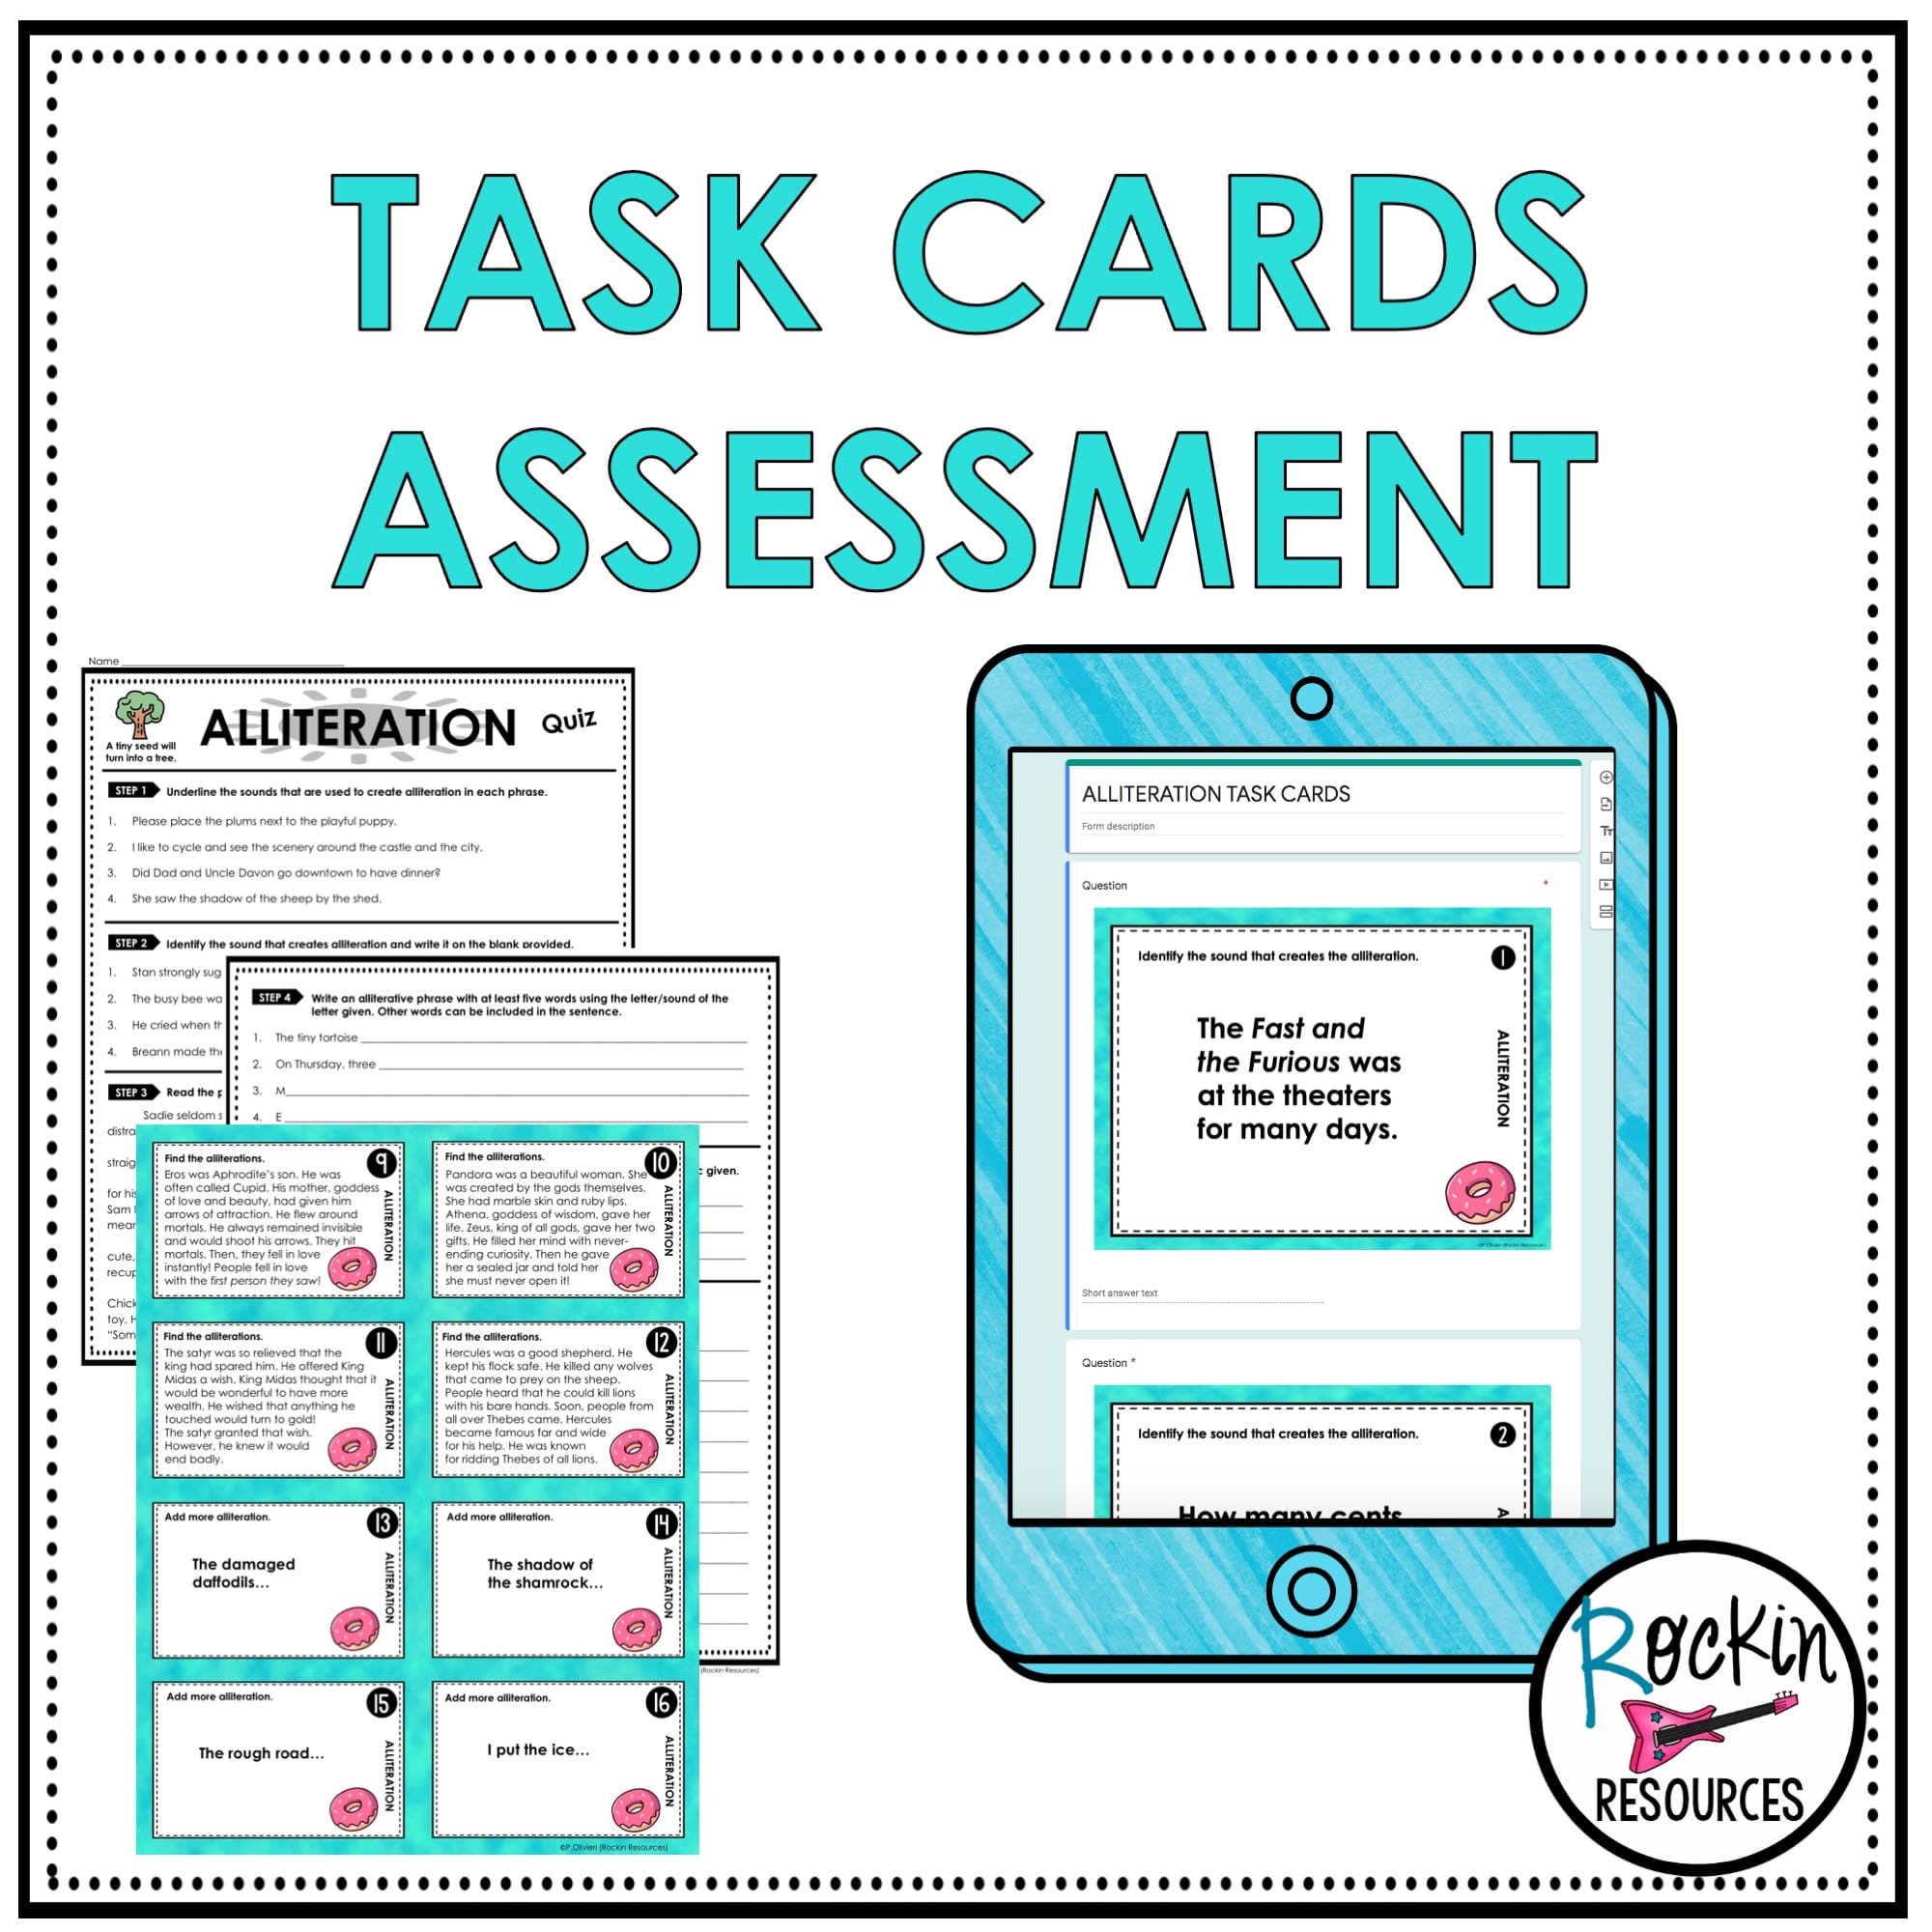
7. TASK CARDS: There is a PDF printable version. These can be placed in groups or centers. A GOOGLE FORMS QUIZ is included for easy grading.
8. GRAPHIC ORGANIZERS: There is a NAME and a NOUN Graphic Organizer. Students can use a dictionary for brainstorming alliterations. Brainstorm words with the same beginning sound, identify the sound, and write alliterative phrases.
9. ASSESSMENT: Assess the students’ knowledge. DIFFERENTIATE: For struggling students, you may want to ask them to find 5 instead of 10 examples from Step 3. You may want to cross off sections 4 and 5 or ask for 2 or 3 words instead of 5. GOOGLE AND PPT: If you don’t want students to have access to the quiz while practicing, cut and paste it into a separate file.
HOW ARE THE STEPS SET UP?
STEP 1: IDENTIFY-Underline the letters that make up the sounds.
STEP 2: IDENTIFY- Write the letters to the sounds.
STEP 3: IDENTIFY- Find the alliterative phrases in a story.
STEP 4: APPLY- Write an alliterative phrase for a specific sound.
STEP 5:APPLY- Write an alliterative phrase for a specific topic.
Thank you for visiting my store!
PAM 🙂