
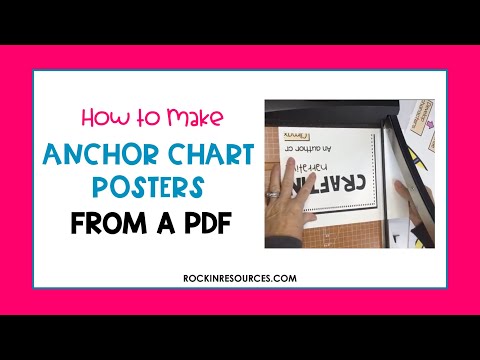
Are you lacking the creative skills to draw your own anchor charts? Don’t stress over having a perfectly drawn, colorful anchor chart. This post will show you how to take a PDF anchor chart and make it poster size! It is easy and just as effective!
STEPS TO MAKING A POSTER-SIZE ANCHOR CHART
1. Make sure you are using Adober Reader 10 or above.
2. Choose file > Print.
3. In the Print Pop-up, select Tile All Pages. (If the option is not in the pop-up, it may be your default setting and you don’t have to do anything else.
4. Make sure these are NOT selected: Print as an image, For Acrobat Only, or Separations.
5. Set the Scale to 200% to have the poster in 6 pieces. The poster will be approximately 17 X 22 once the edges are trimmed to a one-inch margin all around. If you want it larger, go for it! (The screenshot below shows 8 pages tiled, but it only printed in 6 pages. Hmmmm???? Maybe my printer?)
6. Set Overlap to .3. This will allow you to trim one page and match it up to the next.
7. Select Cut Marks if you want the printer to show you where to cut.
8. Select labels if you want directions printed on the pages telling you the order to put them together. I personally don’t use this option.

9. Click Ok to print.

10. Cutting: First, cut the same size margin around all of the outside pieces. When cutting the inside pieces, don’t trim both edges that will be glued to each other. Choose one edge so there is an overlap on the bottom to glue one piece onto the next. It will be easier to match it up. For example, choose only left edges and top edges to trim. With .3 of an inch as an overlap, it gives you plenty of space to match up the lines.
11. Glue together and Waaahhhhlaaaa!


Now you are ready to print your own anchor charts!

If you are interested in 80+ writing anchor charts, click on the picture below!


