Who loves chocolate? Me me me me me me!!!!!! Did I say me? Believe it or not but I am sitting in the dentist office with my daughter and what better way to distract myself than to think about delicious creamy chocolate! I usually like to do a longer unit but ran out of time. Does time fly for you too? I scaled the unit down to my favorite lessons: reading Charlie and the Chocolate Factory, researching chocolate history with a web quest, and then making our very own chocolate bars! Yuuuuummmmmm!!!!!!
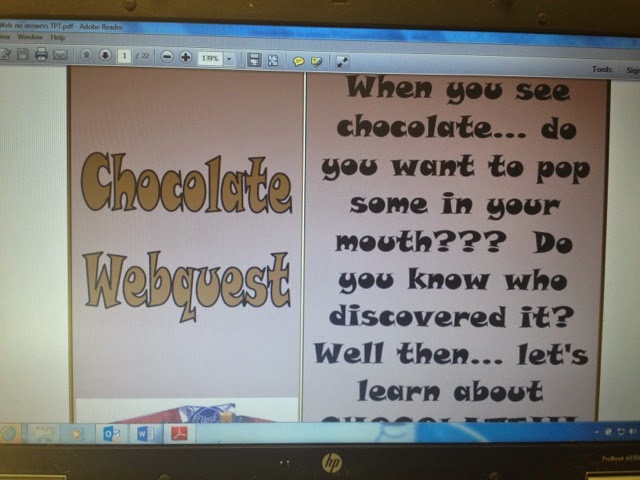
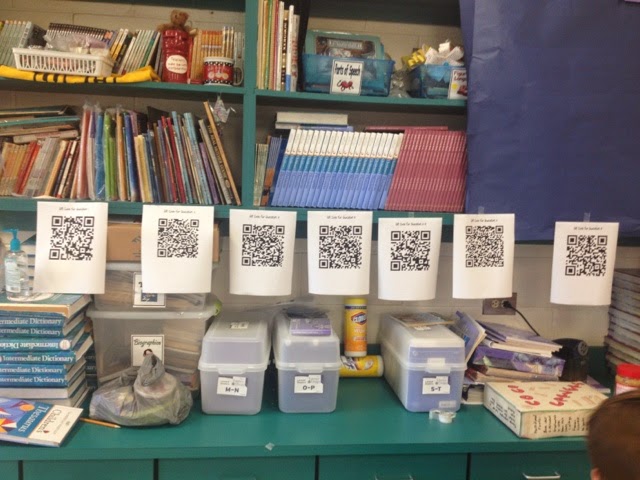
This is what web quest looks like! It works on a computer or Tablet. For the tablets, I created scan codes for each question. My students love using the scan app!
Excuse the mess! It is the end of the year and my assistant principal needs to inventory materials! Kids just seem to work around our little pig pen!
Here is a link to the web quest:
WEB QUEST
WEB QUEST
After the web quest, they got a little chocolate treat.
The next day, it was time to make our very own scrumptilicous chocolate bars!
STEPS TO MAKING CHOCOLATE BARS
Prep:
1. Send out notice to parents for ingredients. I like to use www.signupgenius.com. I will add a list of ingredients I usually ask for!
2. The morning of making the chocolate, bring a crockpot, spatula, wooden spoon, and serving spoon.
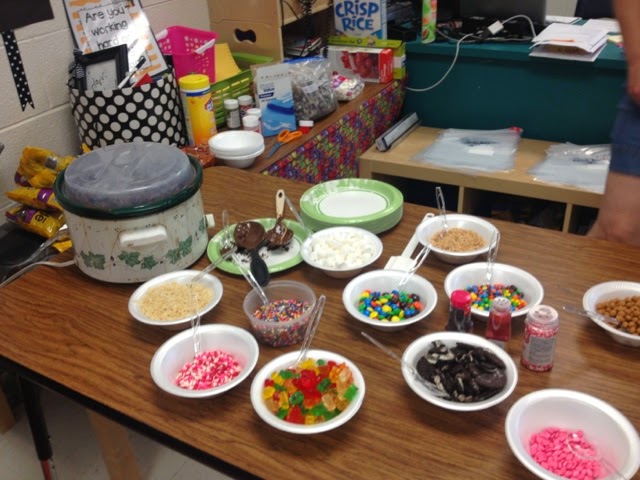
3. Melt the chocolate chips on low. Stir occasionally. We were drooling from the smell of melted chocolate!!
4. Set up the other ingredients in bowls around a table with a spoon for serving.
5. Cut paper approximately 2 inches by 4 inches for labels.
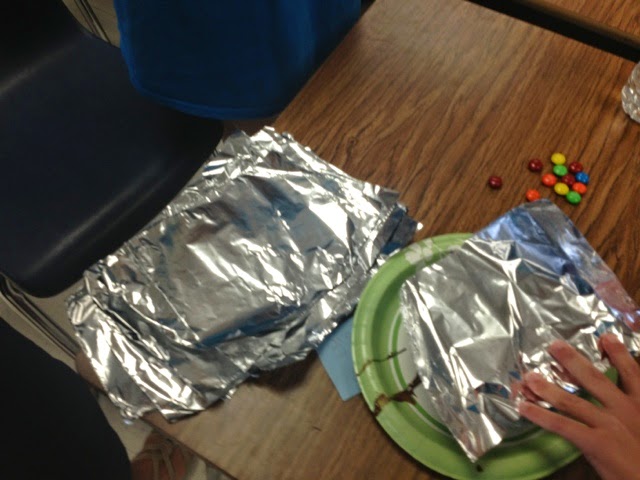
6. Prepare the foil. Tear approximately 2 ft per student and fold it over once.
7. Tear out another piece of foil approximately 4 inches.
8. Write each students’ name on a quart sized baggie.
Making Bars:
1. Create and color a unique label for your candy bar. Set aside.
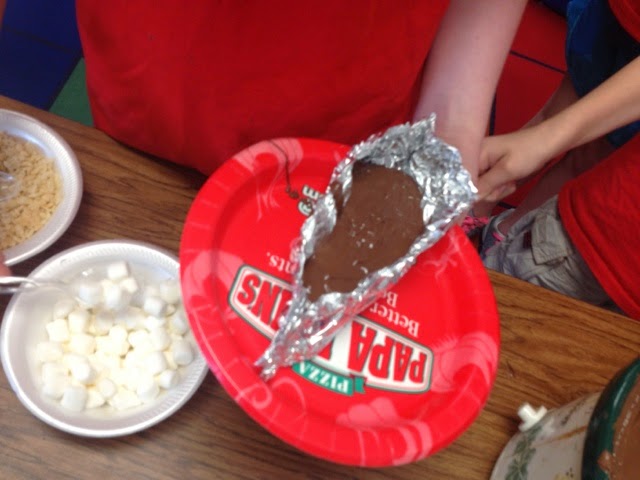
2. Students need to use the foil to create a shape of their choice leaving a hole to pour ingredients.
3. An adult will put your foil on a paper plate and place a scoop of creamy chocolate in the foil.
4. Next, fill your foil with your choice of ingredients!
5. Then, stir ingredients together with a plastic spoon.
6. Take the smaller piece of foil and seal the opening.
7. Using thick clear packaging tape, tape the label on top.
8. Place foil in plastic bag.
9. Last, place bag in refrigerator or cooler with ice to harden!
10. When ready, guess what? It is time for a taste!!!!!!
I promise your students will talk about it for years! Whenever I get a visit from a past student, they always mention our chocolate unit and I am known throughout the school as the teacher who makes chocolate! In case you are wondering if I make one for myself, we’ll hello? Every year I make one for myself and I have my students who finish first make them for our principals! Any kind of brown (chocolate) nosing works!
How do I keep children from tasting? I let them taste! I usually have so many ingredients. I tell them ahead of time to keep their plates and spoons so I can give them some warm chocolate with ingredients left over to taste! Happy campers!!!!!


