
What is the writing process? The writing process is a way to promote successful writers. It provides steps for students to use when writing. Every writing program out there will stress the importance of encouraging students to use steps in a writing process. This post shares the steps I found useful and ideas that help students in my classroom become confident and successful in their writing. The ideas are ideal for any writing curriculum and are a part of a series of mini lessons for writer’s workshop designed for scaffolding through the writing process.
The writing process found on this post has six steps. (prewriting, rough draft, revising, editing, peer reflections, and final copy) Follow these steps with your students and see their writing improve! The following writing process posters are available in my store!
1. Prewriting: Brainstorming and Graphic Organizer
The first part of prewriting is brainstorming ideas. If there is not a prompt to follow, have students go back to their “Ideas” section in their interactive notebooks. Remember where we brainstormed ideas for our I, heart, hand, home, question mark in Lesson 1? This will get students thinking about a topic that is interesting to them. If there is a prompt to follow, tell students to think of as many ideas, plots, or ways they can use the prompt.


The second part of prewriting is using a graphic organizer. Whether it is a free writing paper or a prompt, students will need a graphic organizer that will work well for that type of writing. Click on the graphic organizers below for a free download!

2. Rough Draft
For this step, I tell my students to JUST WRITE! Don’t worry about spelling or anything else. Put your story together by writing writing writing! Get your thoughts down without distractions and deal with proper grammar or spelling later! I tell my kiddos to skip lines to have room to revise later. I love to model this step and make tons of mistakes (purposely) and my students want to correct all my mistakes. I tell them, “Let me write! I don’t want to lose my thoughts!” I also allow them to get comfortable, sit around the room, or find a place or seat that will help them enjoy writing.


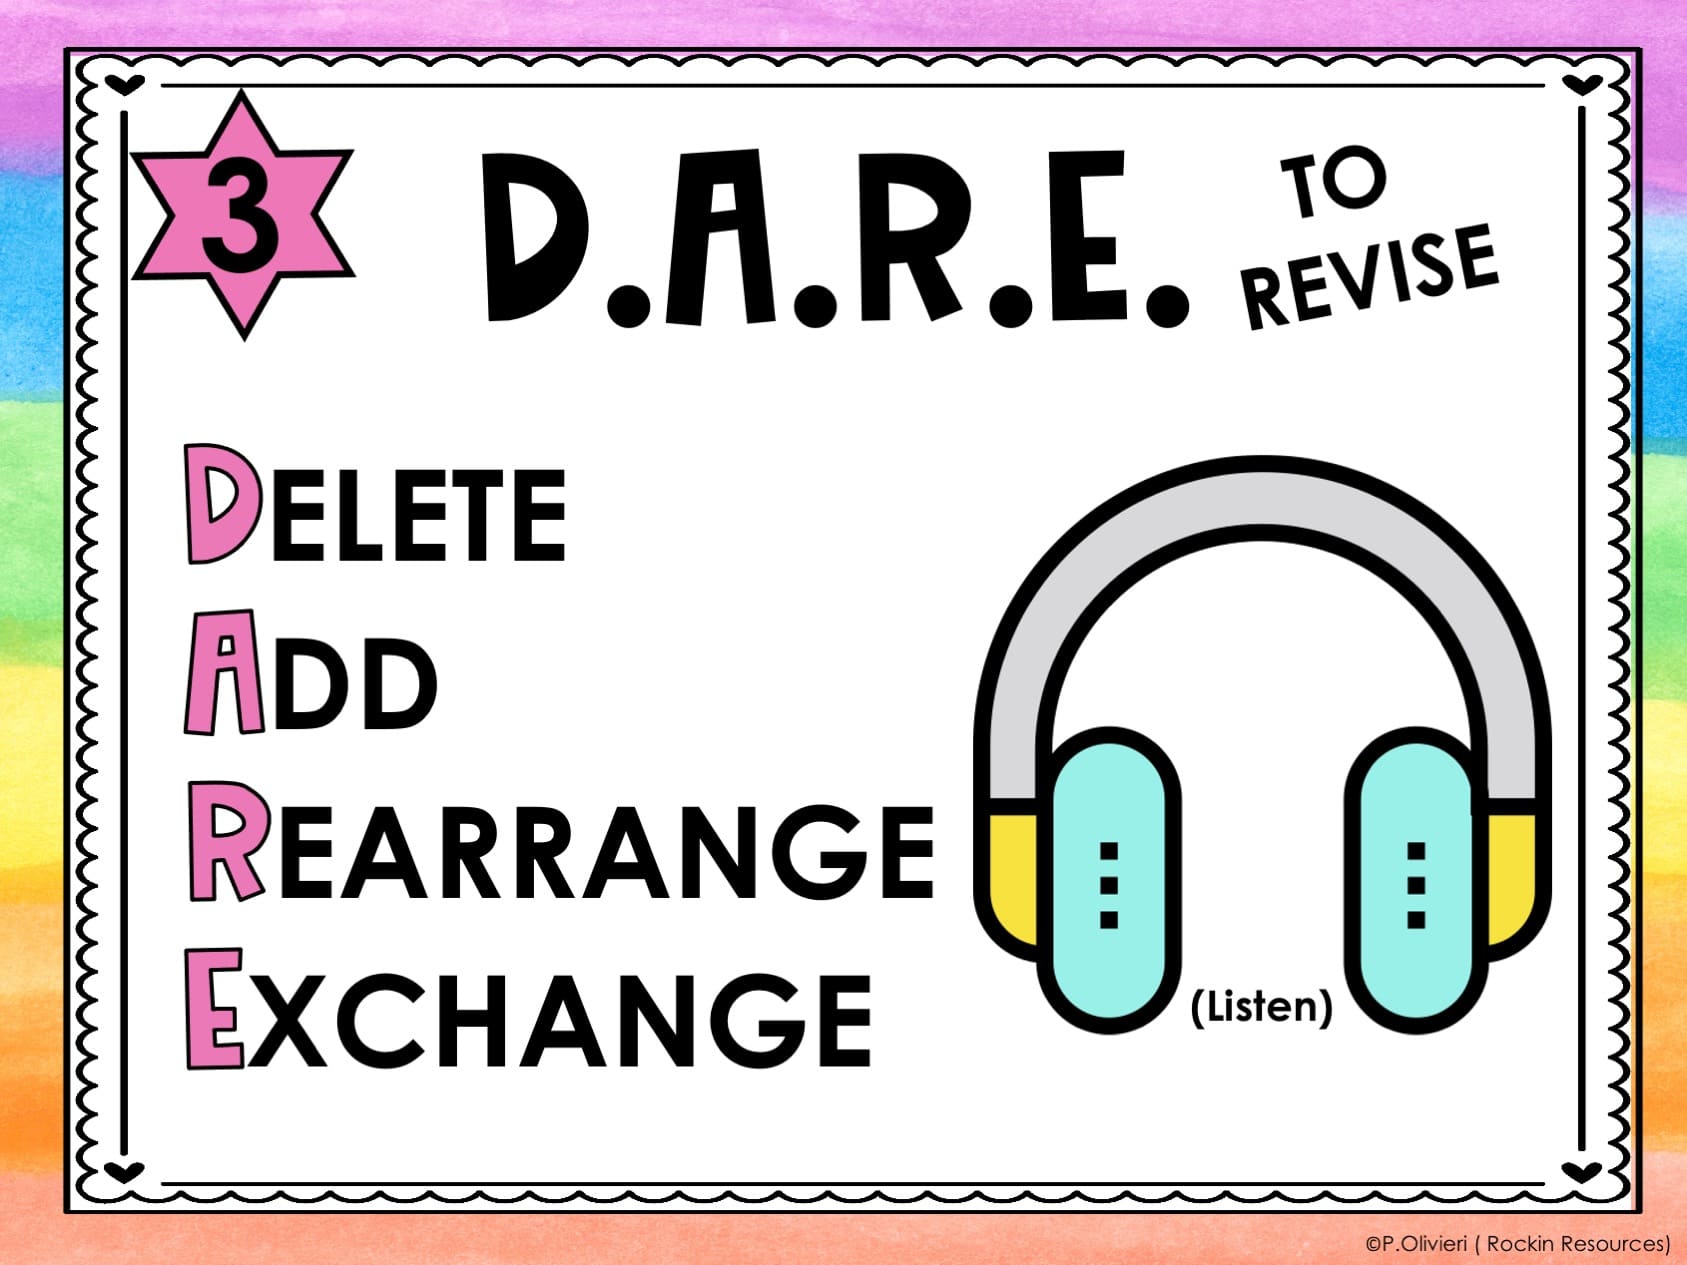
3. D.A.R.E. to Revise
For the revising stage, I find it helpful to have students read their stories out loud! It is fun to have students record themselves reading their own stories and then go back and listen to it. I guarantee they will find fragments, run-ons, or words that just don’t make sense! What does DARE stand for? D stands for delete, A stands for add, R stands for rearrange, and E stands for exchange. In later mini lessons, I will go in more depth with each of the DARE to revise components. While revising, I require my students to use a different colored pen or pencil so I can see attempts to making their writing better. So many times these little cherubs think their rough draft is their best draft so I DARE them to revise!

4. C.U.P.S. to Edit
The next step is using CUPS for editing. It stands for Capitals, Usage, Punctuation, Spelling. I first review the rules for each of the CUPS so students know what to look for in their own writing. When my students are editing, I ask them to use a different colored pen or pencil. However, if they want to use multiple colors, I allow that as well. My philosophy is as long as they are editing and I can see their attempts, that is what matters! Don’t forget that National Punctuation Day is September 24th!!!

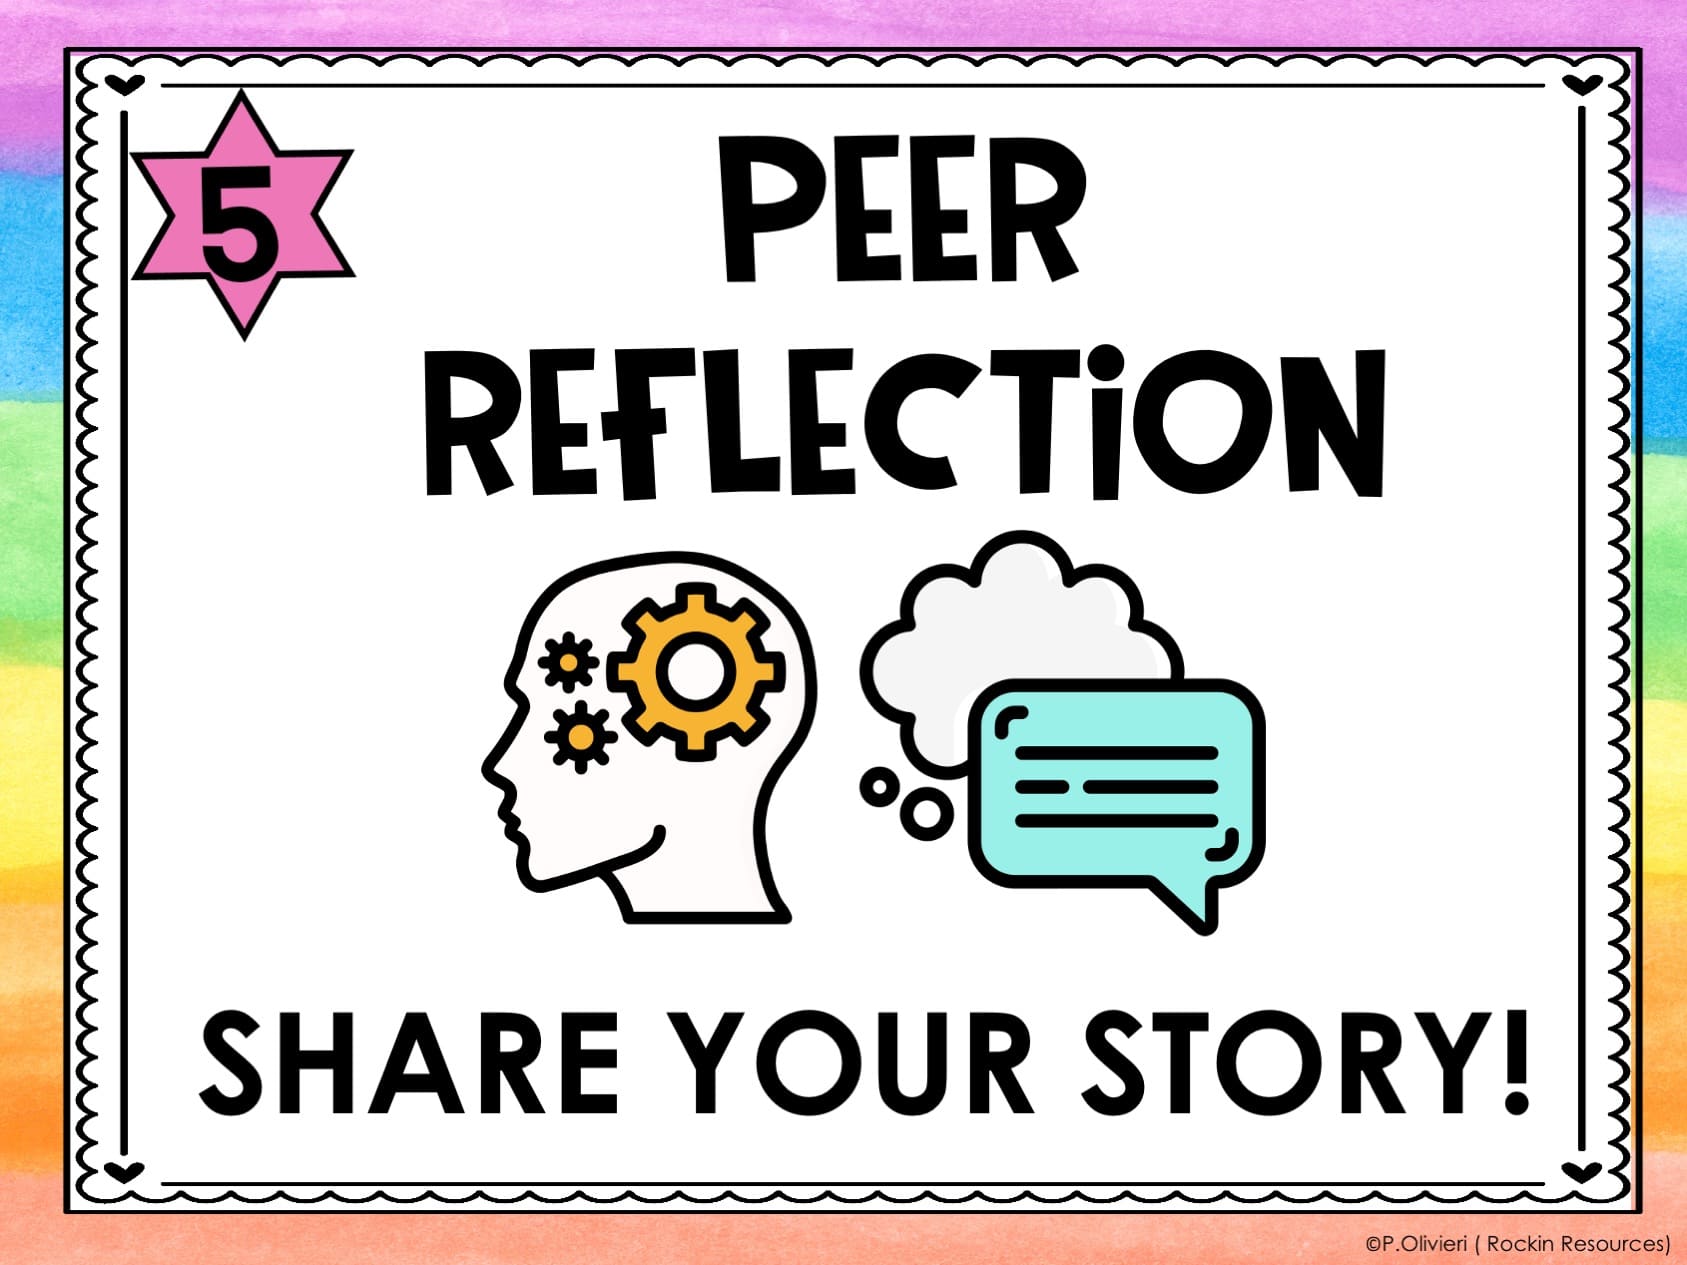
5. Peer Reflection
I like this step so students can get feedback from a peer. Supply each student with a reflection form or sticky notes and a writing checklist. Ask your students to take this step seriously and pretend they are a teacher or editor. Go over the checklist as you read the story. Remind students that they not only give advice on how to fix their peer’s paper, but also let them know the parts of the paper that ROCK! I like to use two positives and a wish. Tell two things you like about the paper and one wish to make it better. Students should not write on each other’s papers. Many students take such pride in their work and don’t want anyone else writing on it. This is where sticky notes are a blessing! After peer reflections, it is completely the writer’s decision on what they want to change OR not. This is their last chance to make their papers better!

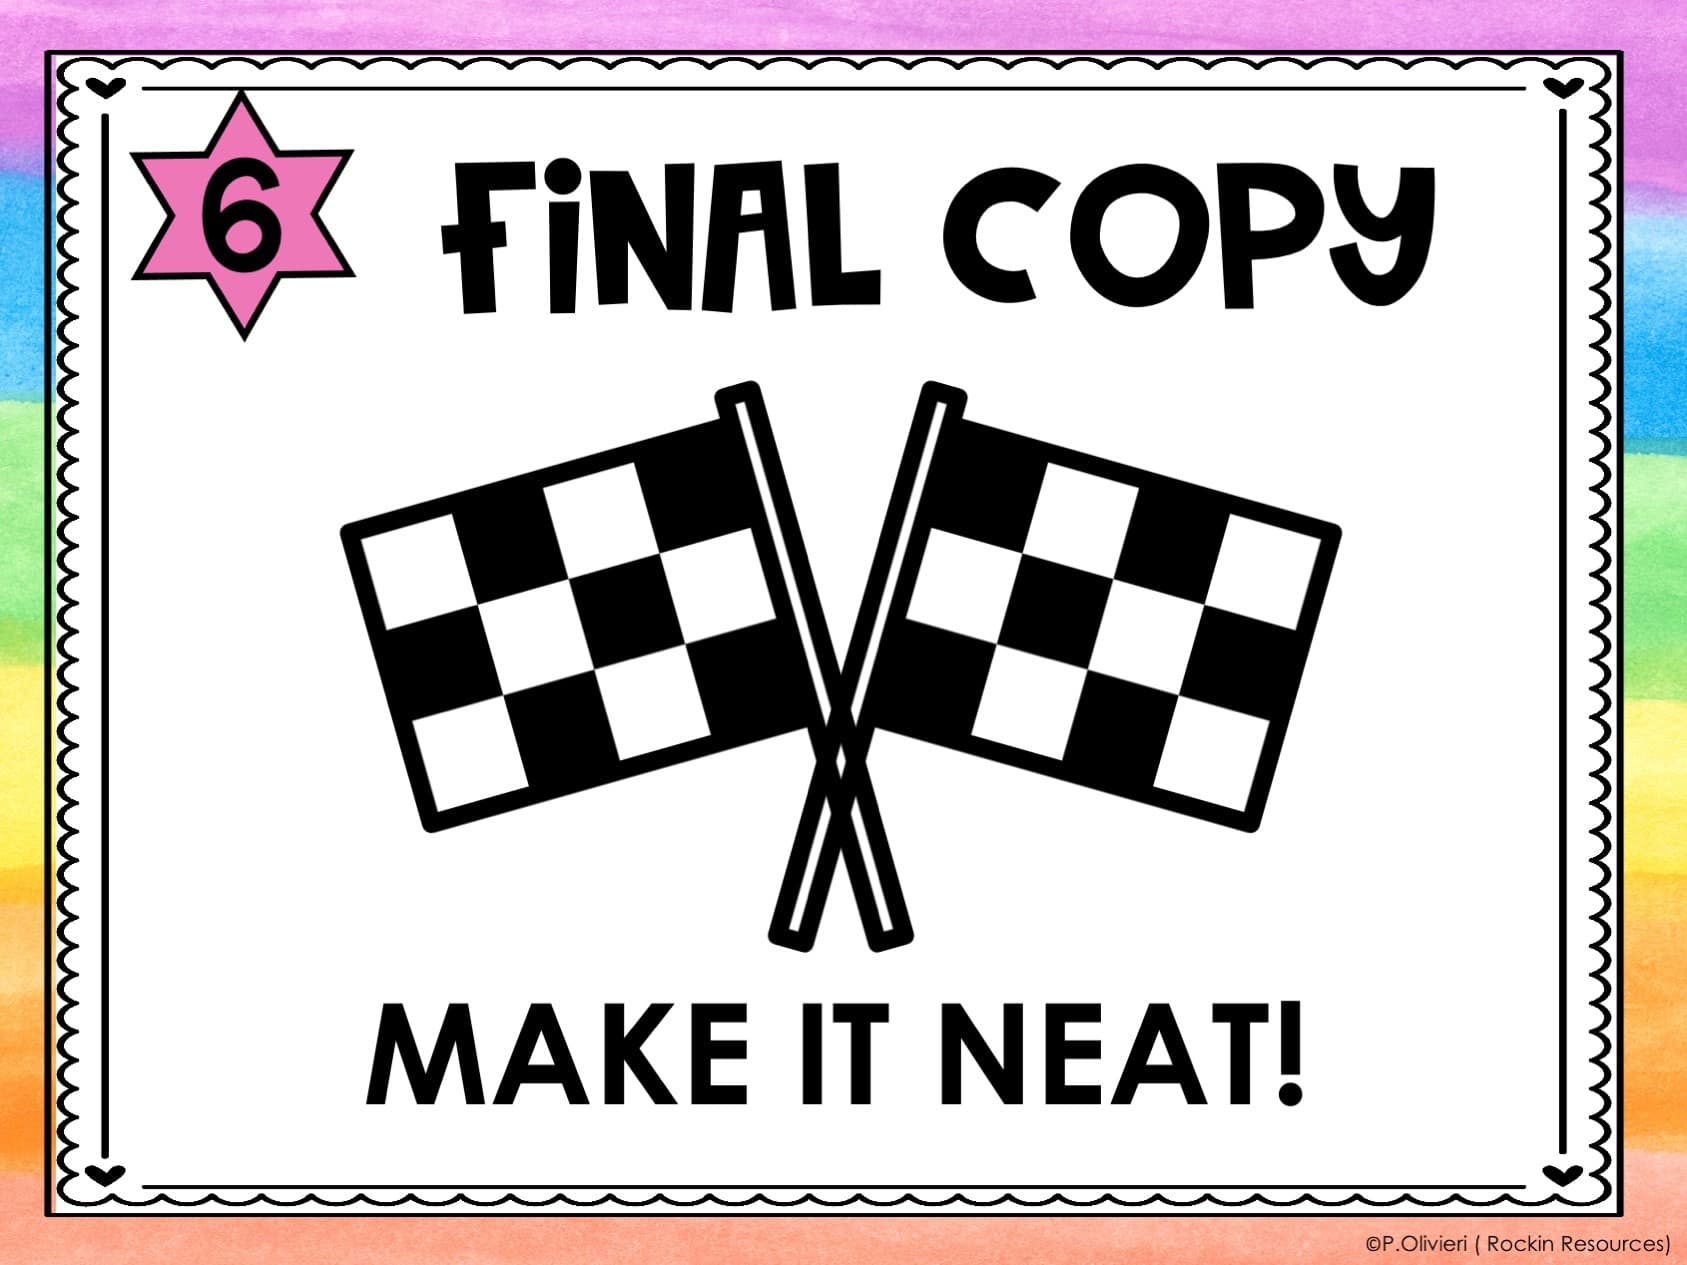
6. Final Copy
Time to be neat! Depending on your instructions, students need to write final copies neatly. If they are handwritten, I ask them to sit a desk or table to help assure proper handwriting posture to optimize their final outcome. If it is a typed paper, it must also be neat and free from typos.
Click here for WRITING POSTERS. There are a few different versions of these posters. Notice in the picture below, I have clothespins. I have my students mark the step of writing they are on so I can quickly glance and see who may need help. I can’t take credit for this nifty idea- found it on Pinterest, but I do LOVE it!


Check out my FREE writing masterclass! CLICK HERE
LAST LESSON:Writing Mini Lesson# 8- Table of Contents
NEXT LESSON: Writing Mini Lesson #10- 3 Steps to Prepare for Narrative Writing
This lesson is also included in the STEP-BY-STEP WRITING® Program with mini-lessons designed to scaffold through the writing process. Writing units included are sentence structure, paragraph writing, narrative writing, opinion writing, and informative writing. See what is included in the image below and click on it to learn more about them! You will turn your reluctant writers into ROCKSTAR WRITERS™!

Excellent, comprehensive resource that has helped my students and me SO much! There’s NOTHING missing and it is very well planned and engaging! Thank you SO much, it has been a life-saver! -Angela Rutschke

