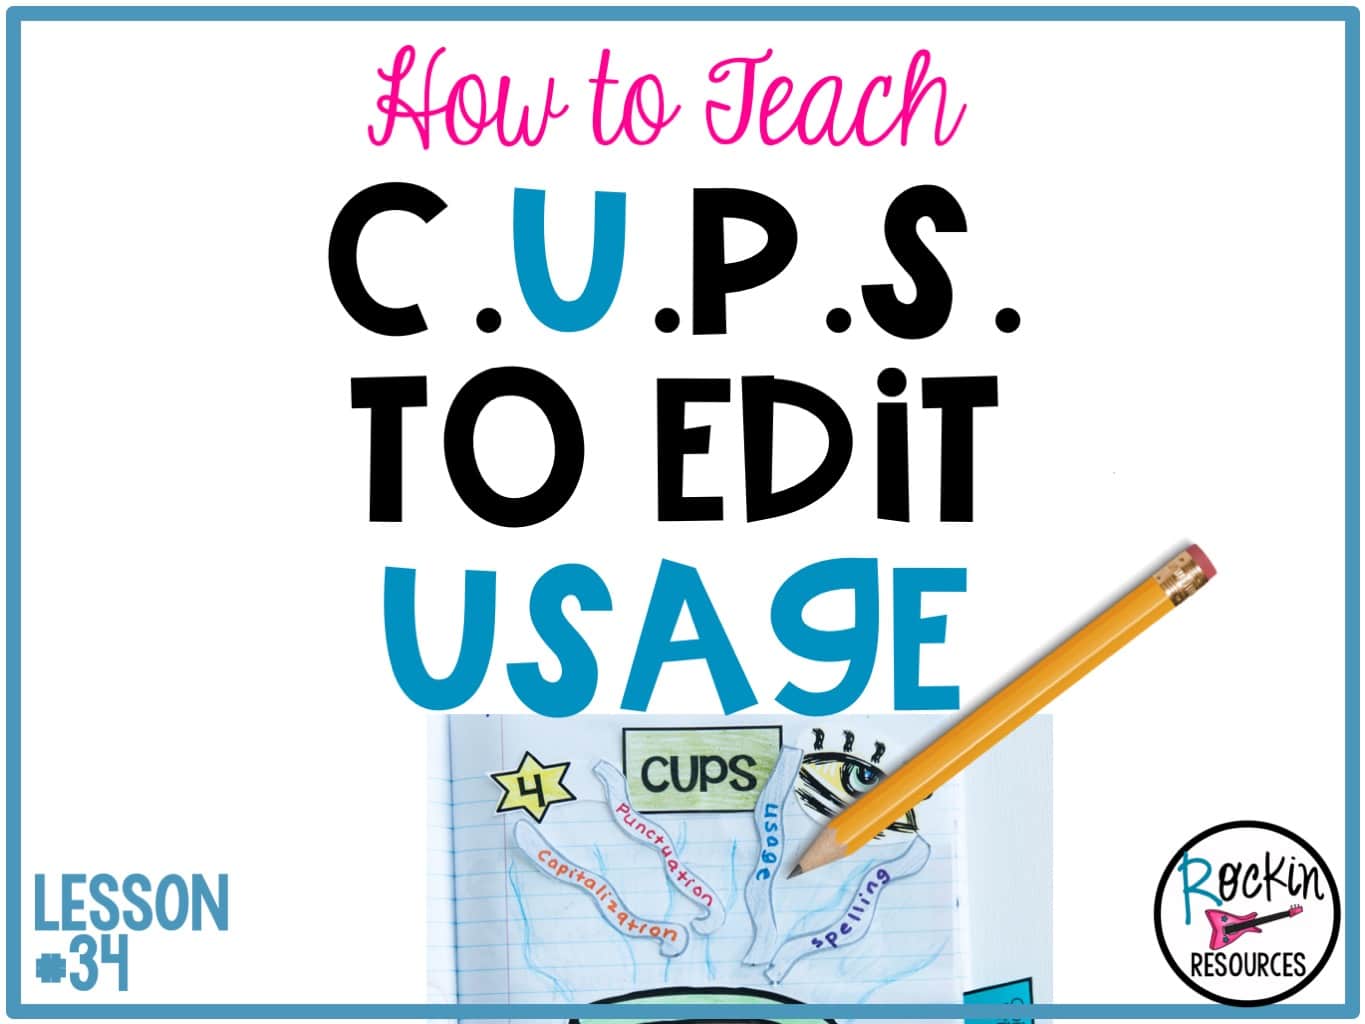
Are you looking for ways to help your students with USAGE in their sentence writing? This post was designed to give you ideas when teaching a lesson When using the acronym CUPS (Capitalization, Usage, Punctuation, Spelling) for editing, this post will focus on the U for USAGE. It will cover subject-verb agreement, double negatives, complete sentences, run-on sentences, verb forms, and verb tense.
Follow the steps below when teaching USAGE in an upper elementary classroom.
1. TEACH
2. MODEL
Model these skills in the class rough draft. If you don’t own the interactive writing notebook bundle for your grade level, take the rough draft of your class story and make usage mistakes throughout. If you own the notebook, this is already done for you. Make sure to cover all of the rules above. Then display it and show students how to correct each area. Talk out loud while you are editing for usage so students can hear your thinking process.
3. TAKE NOTES
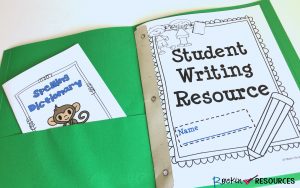
For this step, give students mini anchor charts with the information to put in their notebook or provide a student resource with the rules for usage.
4. PRACTICE
Give students practice with each area above. The more practice they have with editing for usage, the better proofreaders they will become.
5. APPLY
Students should now apply these rules to their own rough drafts. Ask students to scour through their rough drafts looking for these errors. Remember they are detectives! Encourage this step and make it fun! Give them magnifying glasses!
6. SHARE
Have students share where they found mistakes in their own writing. This works well in partners and small groups.
Don’t forget to continue the writing workshop series! There are more on editing with CUPS.
Check out my FREE writing masterclass! CLICK HERE
LAST LESSON: WRITING MINI LESSON #33 CUPS FOR EDITING- CAPITALIZATION
NEXT LESSON: WRITING MINI LESSON #35 CUPS FOR EDITING- PUNCTUATION
CLICK HERE FOR THE FULL LIST OF WRITING MINI LESSONS
This lesson is also included in the STEP-BY-STEP WRITING® Program with mini-lessons designed to scaffold through the writing process. Writing units included are sentence structure, paragraph writing, narrative writing, opinion writing, and informative writing. See what is included in the image below and click on it to learn more about them! You will turn your reluctant writers into ROCKSTAR WRITERS™!
“This is one of the best purchases I have made. I love how it has step by step the writing process. My students are engaged and truly understanding how to write. “ -Laween B.


