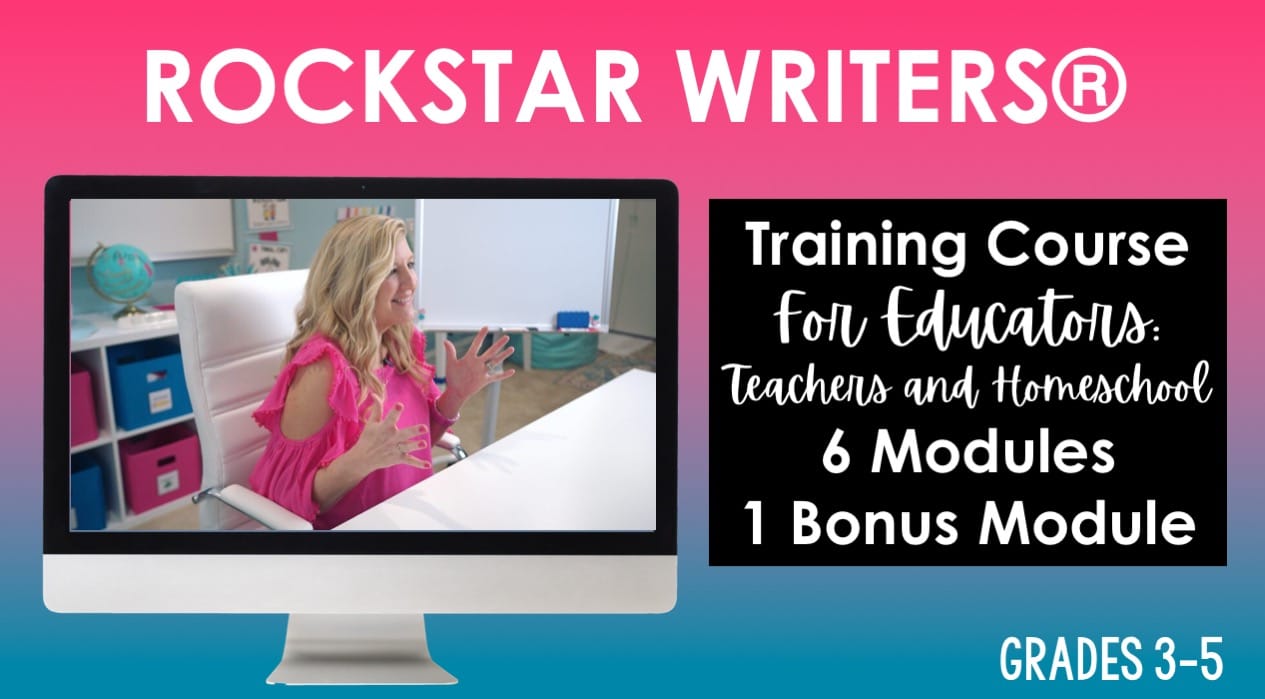
Some teachers find writing a difficult subject to teach. Now throw digital learning into the mix. Don’t panic! You don’t have to be at your wit’s end! This post will give you ideas on how to teach writing remotely!
Prior to Teaching Writing
- Gather your curriculum materials. If you need a quality writing program made for distance learning, click HERE!
- Decide on how you are going to present the materials. Zoom? Prerecorded video? Screen sharing?
- Using your standards, plan out your lessons. I have a free writing pacing guide to help you decide on the order of lessons. Join my free vault to get the pacing guide. Plan to teach in small chunks. This will build confidence in your reluctant writers. Teach one mini-lesson each day.
- Each day, prepare the materials for the mini-lesson. For each writing mini-lesson, have a visual anchor chart, mentor text, taking notes, practice, modeling, and a place for students to apply their knowledge. (Ideas for doing these remotely are found below!)
The Day of Teaching Writing
- An hour before expecting students to be online, check your applications, wifi, and battery of your computer.
- Tell your family members what time you will be live. (Hang a Do Not Disturb sign up.)
- Send out materials that students will need for the day. Do you have them filling out a graphic organizer or have some interactive practice for transition words? Send any organizer or resource students need for that lesson.
- Expect students to have trouble getting online. Have a little chitchat with other students at the beginning while others are trying to join.
- Teach the lesson. I have prerecorded videos if you would like me to teach each mini lesson. To learn more, click mini-lesson videos.
How to Teach Each Step in the Mini-Lesson
Anchor charts- Place it on your screen or have it next to you. Point to the visuals and explain the lesson. Or place the prerecorded video teaching the lesson.
Take Notes- Do you want your students to keep a paper notebook with notes from your lessons? Do you want students to take digital notes? In my writing programs, I offer a printable version with differentiated interactive notebook pages and in the digital version, I offer interactive digital notes where they drag items or type in sentence frames. Taking notes is an important part of the learning process. As students write the information, it is being set in their memory.
Mentor Text– Show them the skill in a picture book. Put it close to the camera so they can see it. For example, if you are teaching rockin’ beginnings, pull out a book that has a rockin’ beginning and share it with your class.
Practice- If you have a digital practice, either put it on your screenshare to do the practice together or pause and give students a few minutes to practice. This is where a self-check interactive practice comes in handy!
Modeling- Either have a model prepared and ready to place on your screen, or write it with your students. I like to model each mini-lesson throughout the writing process so students can see an effective essay being built.
Apply- Decide on how you will have students do the writing portion. Start a separate digital file? Include it in their writing notebook? Either way, supply them with a graphic organizer and a place to write. I have free PDF and digital organizers in my free vault. Then assign this part of the lesson and offer assistance or for their homework. That way they will have all the time they need to work on it.
How should students build their essays through the writing process?
The quick answer is: The same way you would as if you were in class together! How can you do that digitally?
- Prewriting: Start with the graphic organizer and have students add to each section as you teach it. The digital organizers have text boxes for student to write directly in each section. For example: introduction, body, conclusion. If you want to use your own graphic organizer, no problem! Make a JPG of it, then place it in the PowerPoint or Google Slides. Create text boxes over each section for the students to write in.
- Rough Draft: Then students need to take that information on the graphic organizer to form a rough draft.
- Revise: All the of the revision lessons can be applied directly to the rough draft. If the rough draft is typed, show students how to add and delete.
- Edit: All of the editing lessons can be applied directly to the rough draft.
- Peer reflections/Conference: If you like students to give 3 positives and a wish to each other’s papers, show them how to send it to each other for feedback. This is also a good time to conference with students. Give them ways to improve their writing before the final copy.
- Final copy: Tell students to finalize their paper and show them how to send it to you or place it in your shared folder.
After Teaching Writing
Collecting Work- You don’t have to collect every lesson. Collect the completed graphic organizer, rough draft, and final copy.
Organization- Keep a file folder on your computer for each student. Have students send you their work and place it in their file or show them where to put it in their folder themselves. Students should put their names as part of the title when sending work to you. For example “Jose Smith Opinion Writing”. If you want them to be in alphabetical order, then have students write their last name first.
Share- Share some of the students’ work with the rest of the class. This will give them ideas for their own writing.


