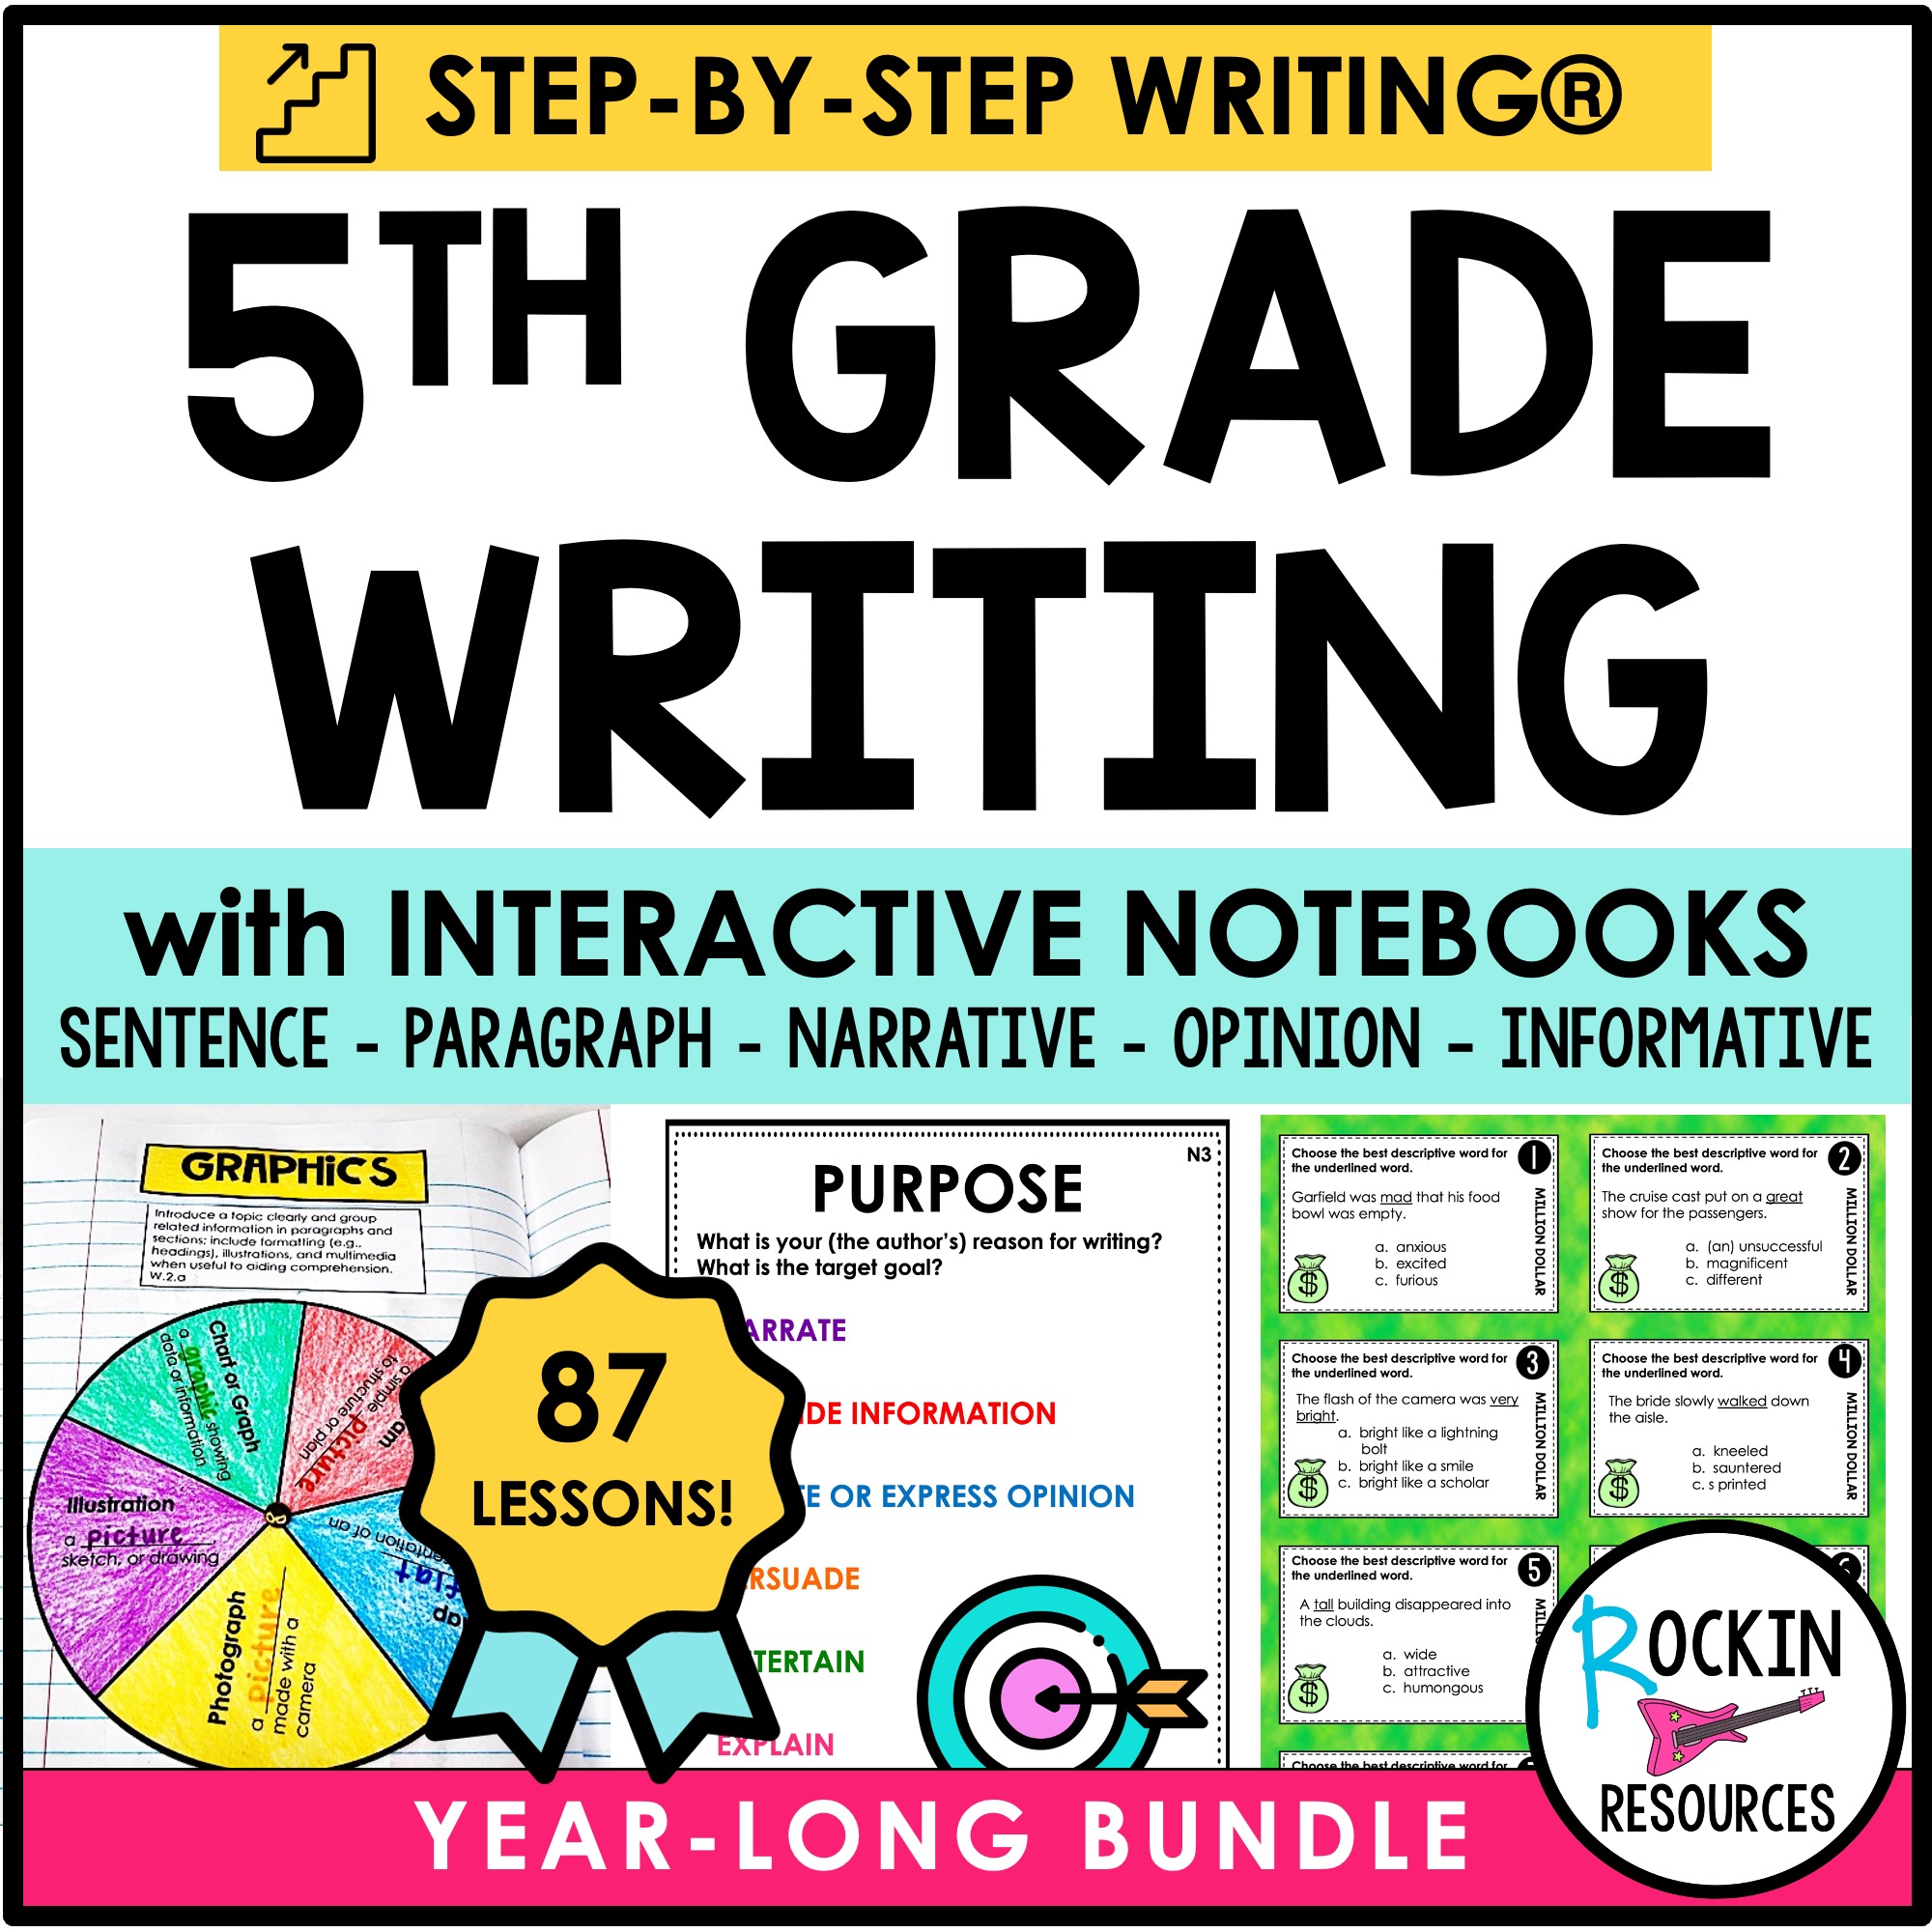
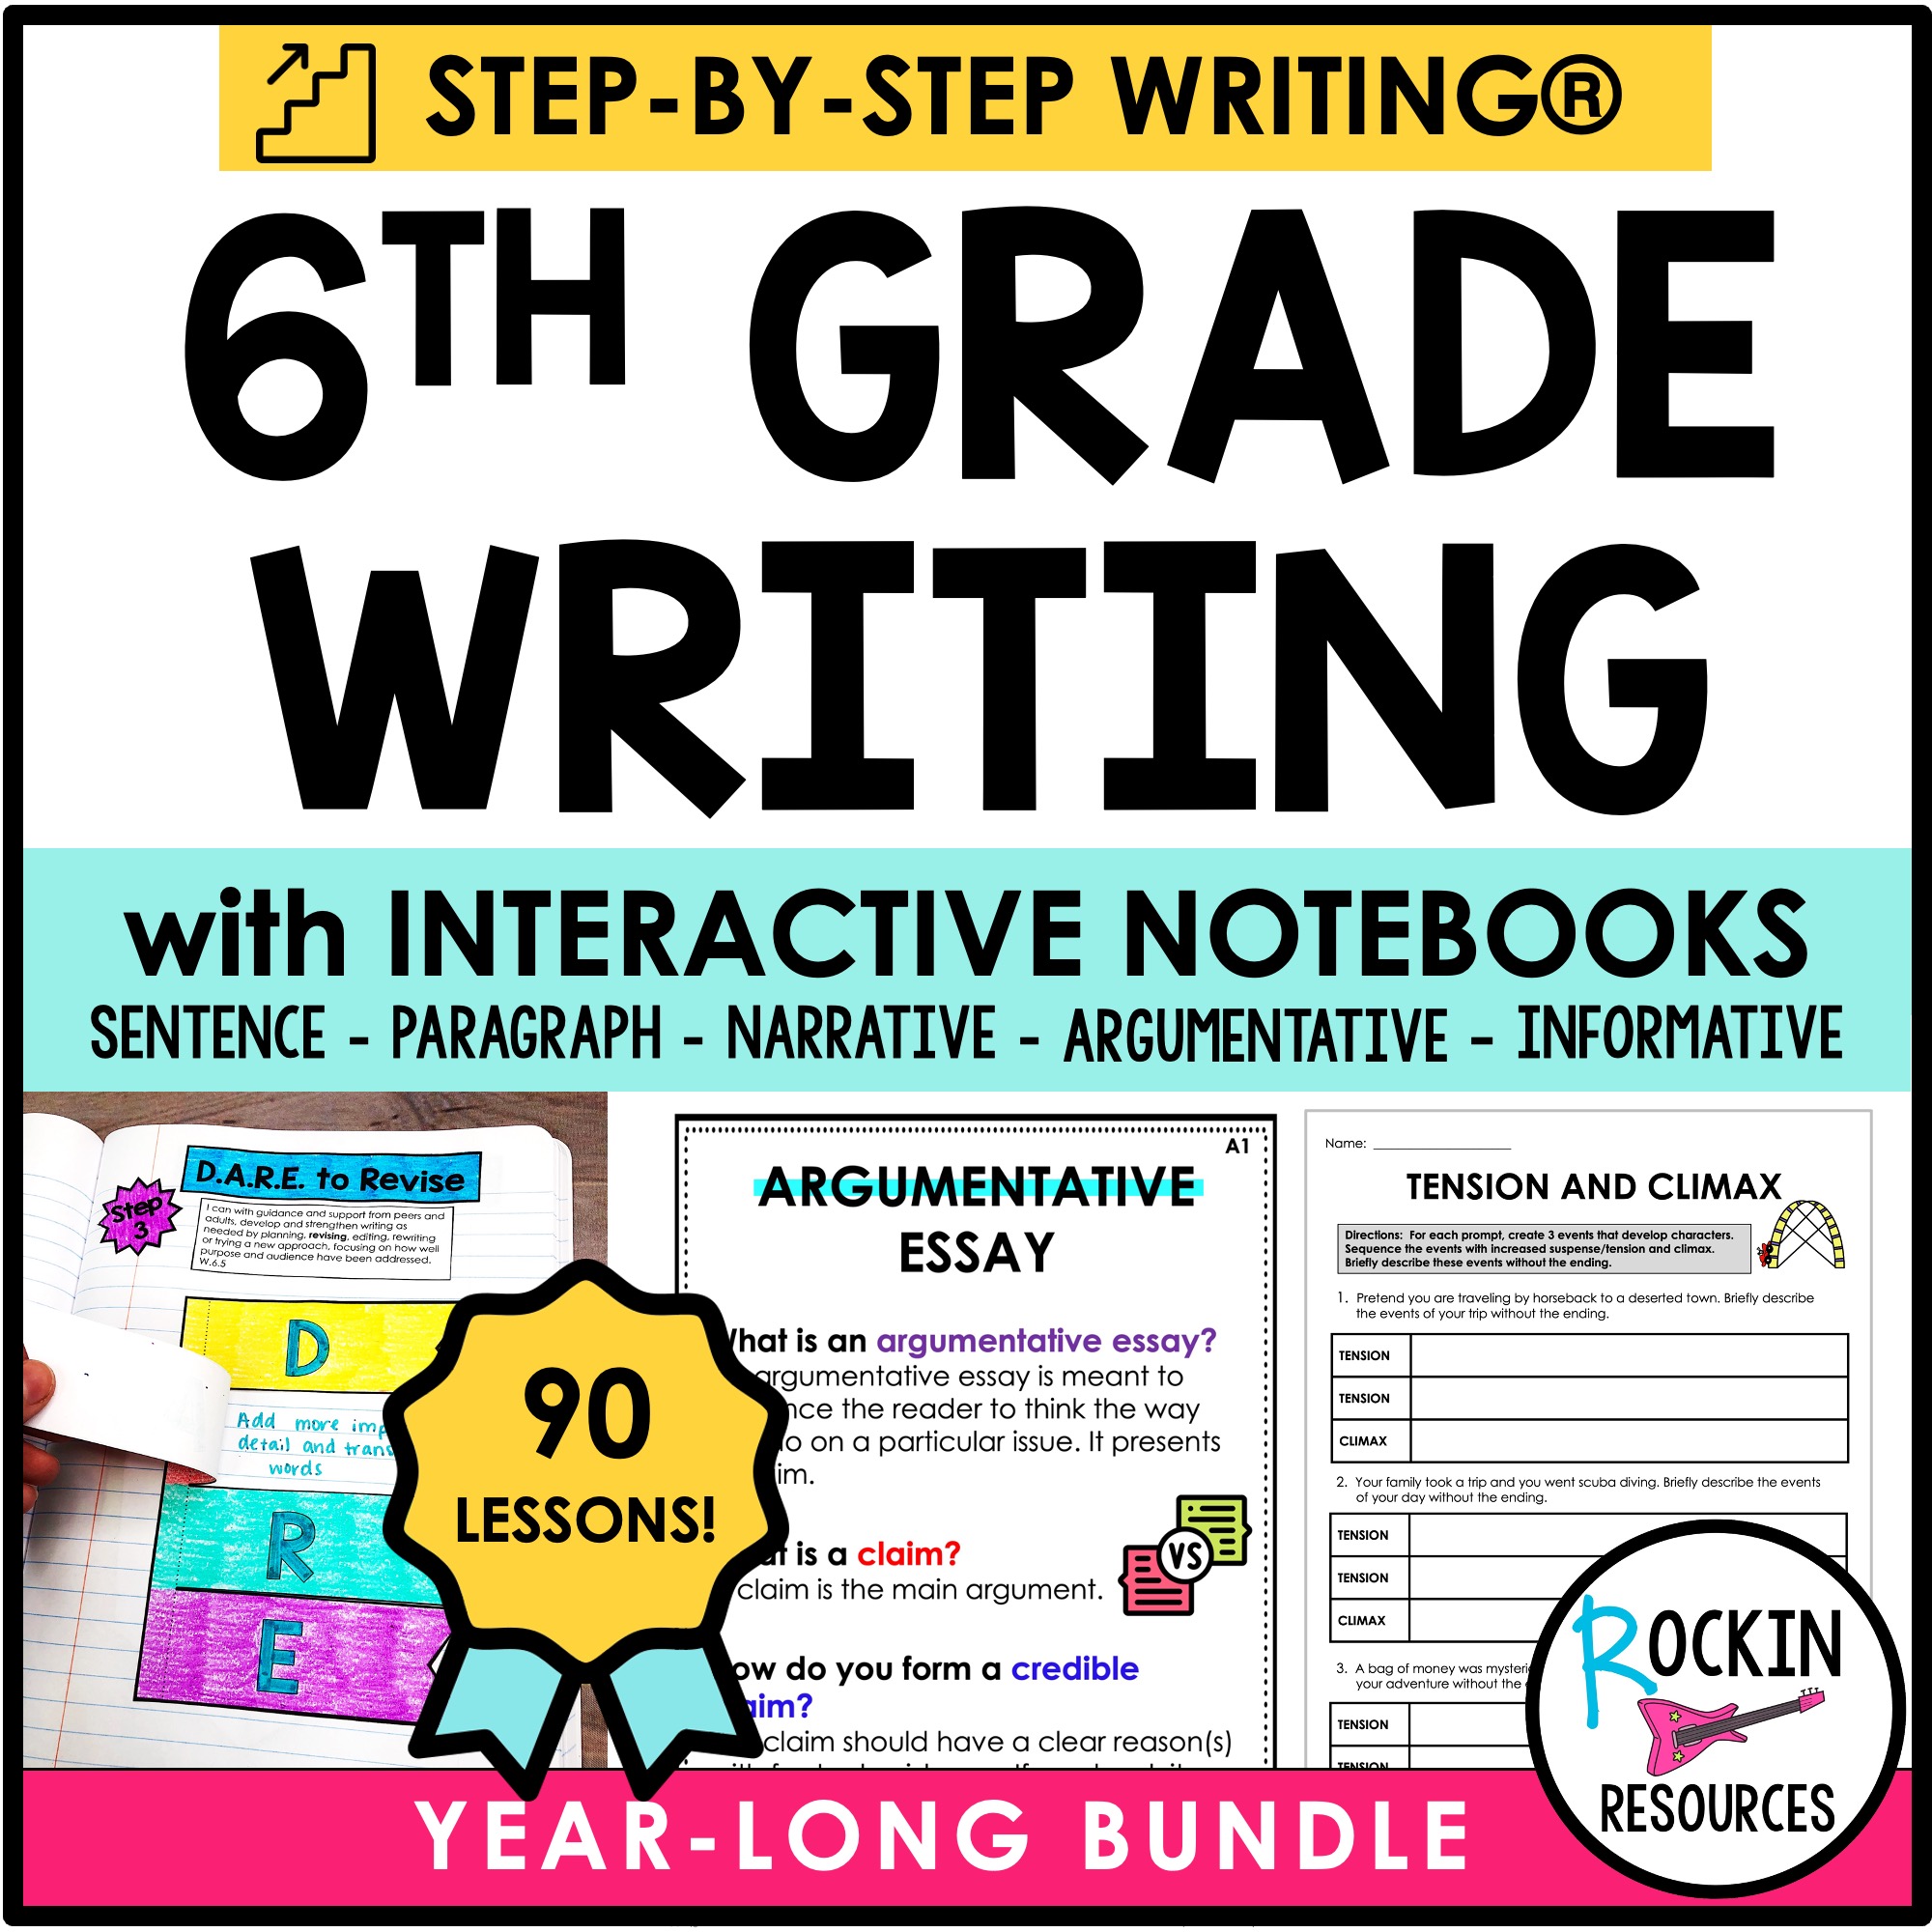
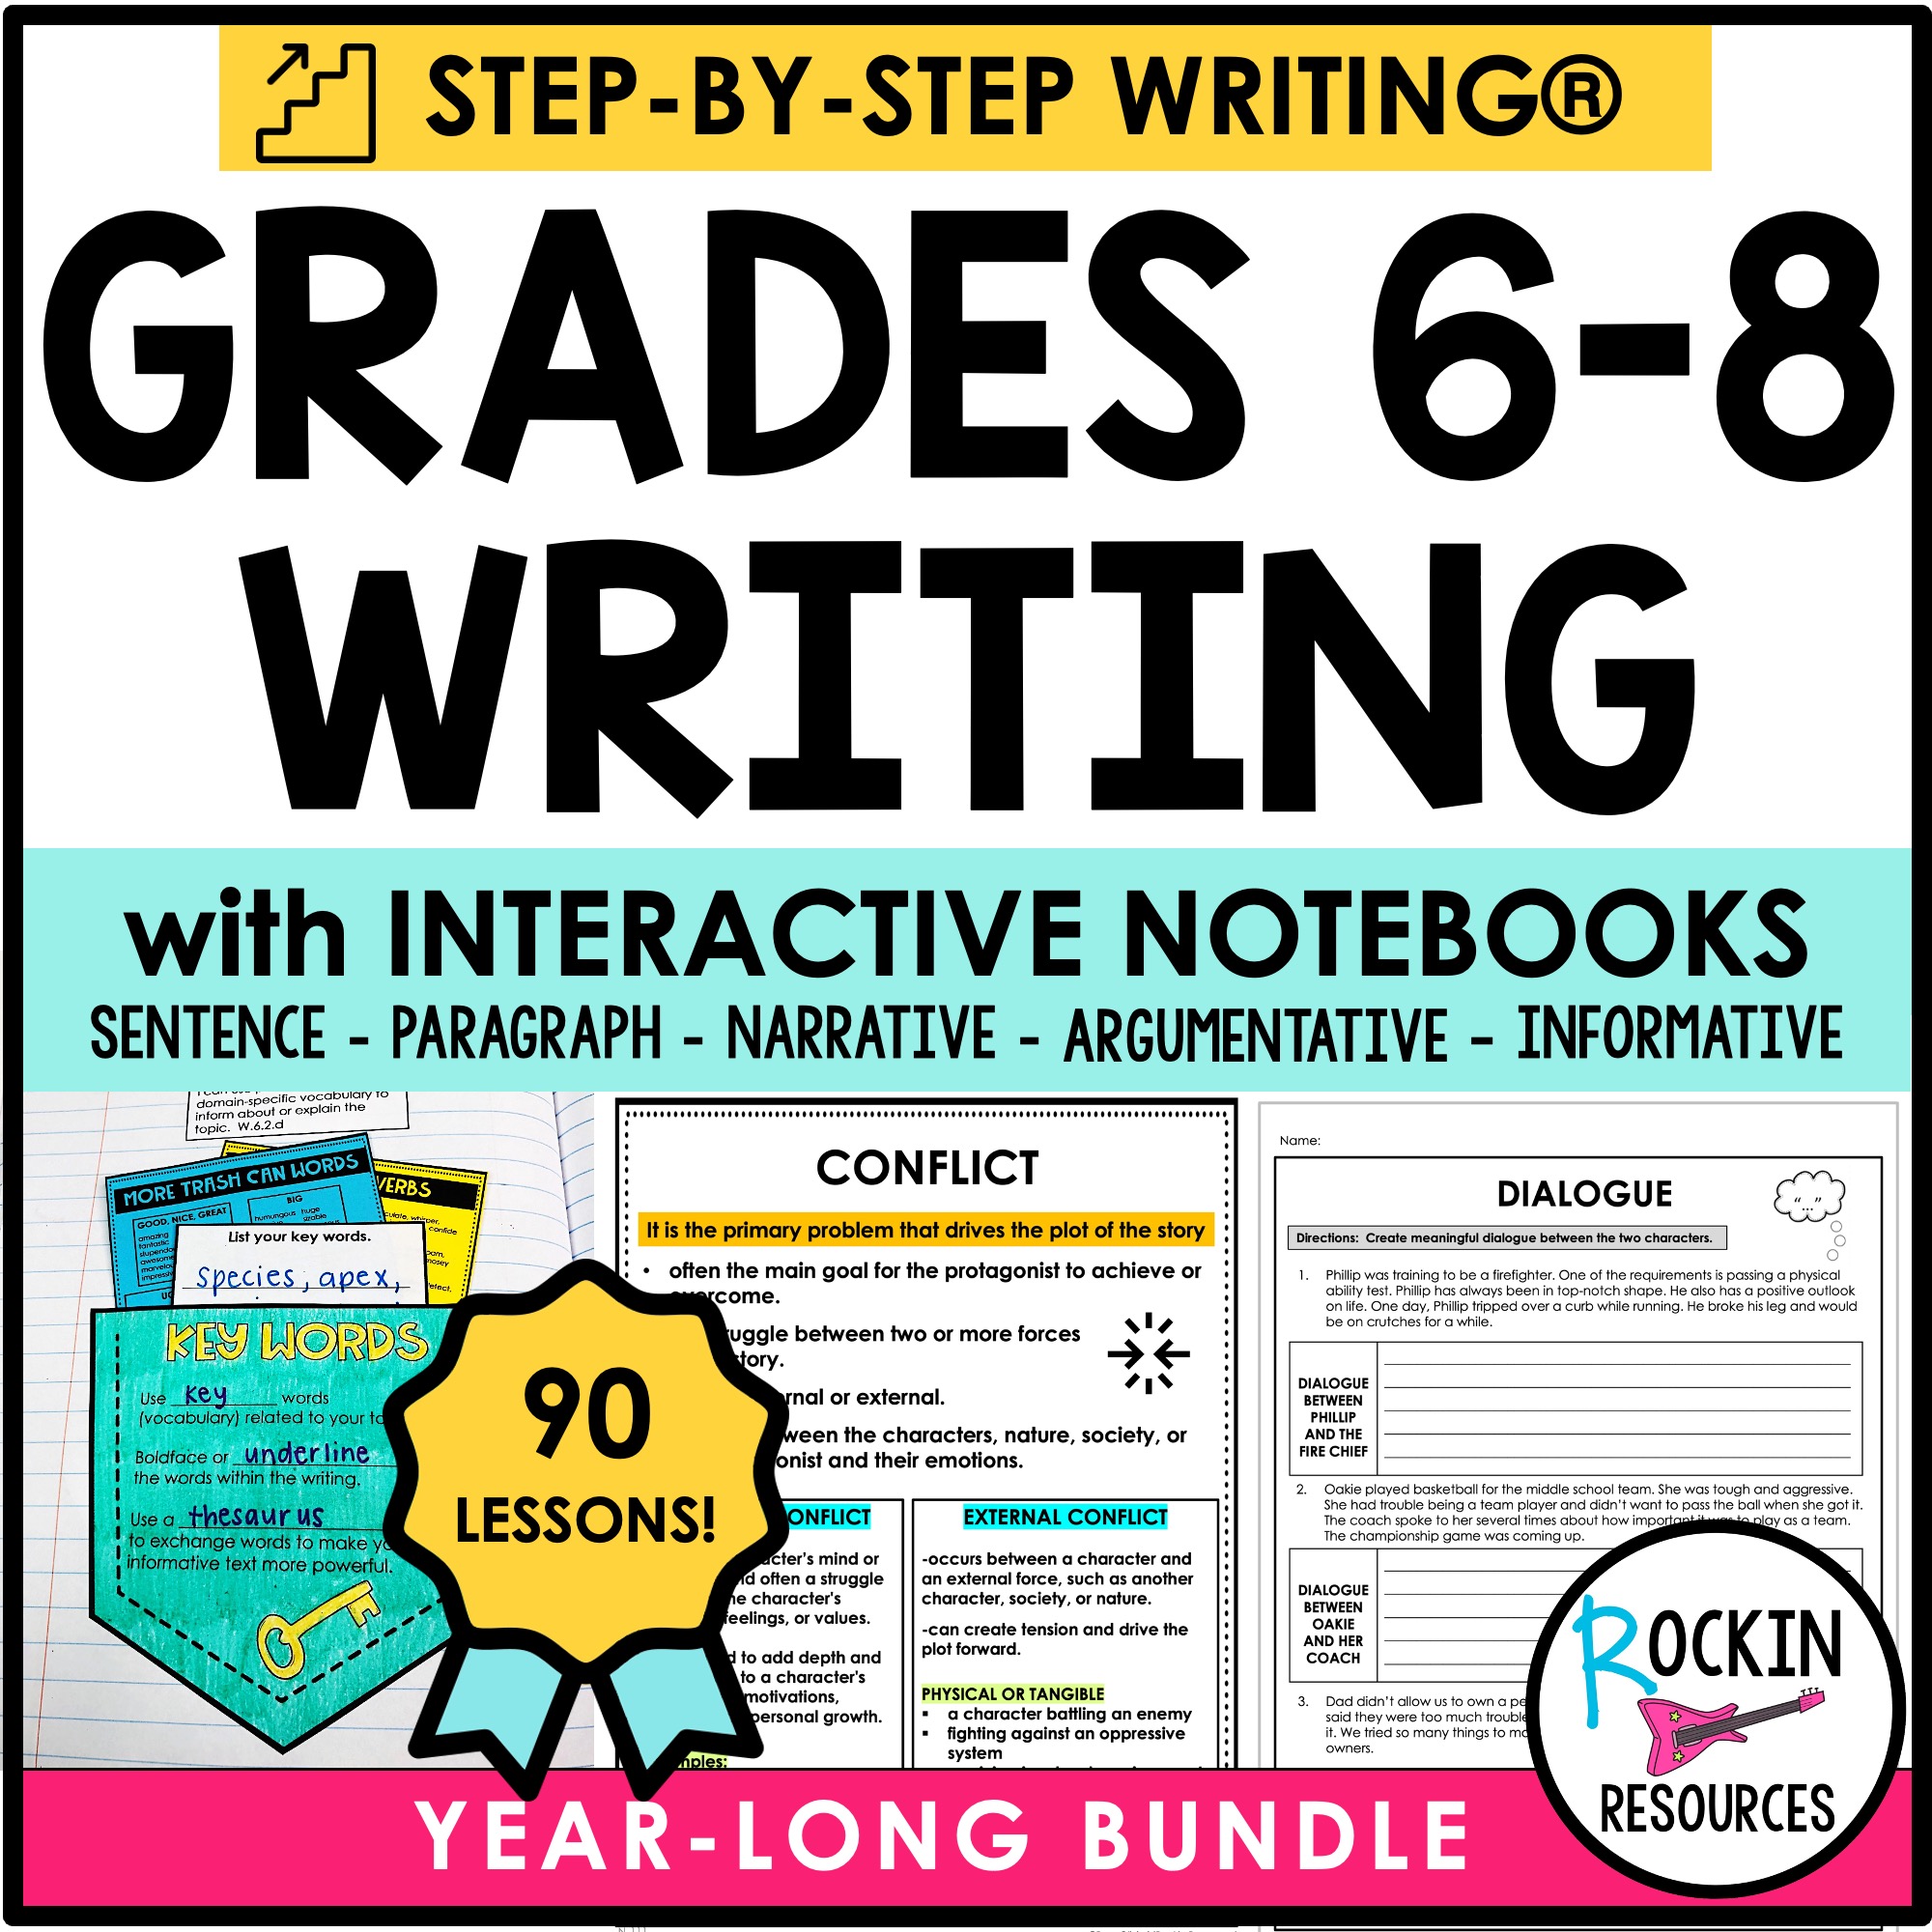
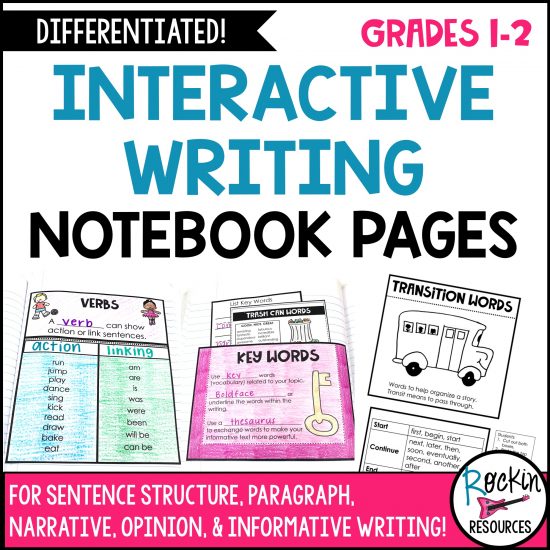
Are you looking for an effective way to organize your students’ interactive writing notebooks and folders? I’ve used writing notebooks for several years and have made changes along the way to find the best possible way to use them. In this post, I will show you how to set up your student notebooks, writing portfolios, and student reference folders. Keep reading to learn the BEST way to set up interactive writing notebooks!
1. DECORATE THE COVER
Use a 100-page composition notebook. There are two options for the outside of the cover.
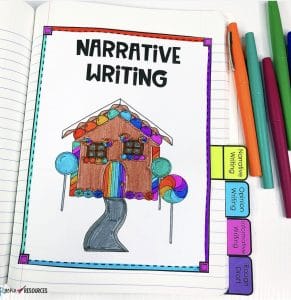
Firstly, create a personalized outside cover. This is a great homework assignment! Have students cut and paste magazine clippings or printed pictures and letters of their favorite things and interests. Make sure they have their name on the front. Then seal it with packaging tape. If you use binders, no problem! Have your students decorate the outside cover of the binder! See the video below! Secondly, use the cover page included in the FREE cover pages and tabs resource linked below!
This video shows how to put them together:
OR
2. PAGE NUMBERS
Students should number their pages. I find it helpful to use colorful dot labels for page numbers. I like to use a marker for the numbers, however, they bleed through the pages. That’s why dot labels come in handy! I suggest doing the page numbers as you go because you never know when someone might make a mistake and need to tear out a page.
Colorful dots: Any 3/4 inch dot labels will work, but the ones below are my FAVORITE because they offer 10 different colors.

3. CREATE A TABLE OF CONTENTS
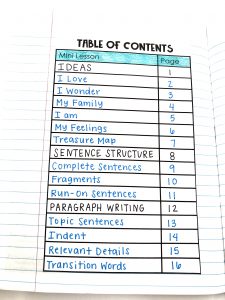
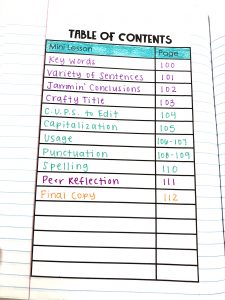
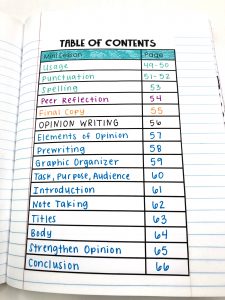
The best way to find pages and stay organized, is to create a table of contents. This should begin on the first page. Save the first eight pages (four pages front and back) for the Table of Contents. I suggest to do your table of contents as you progress through the mini lessons. Why? To be flexible! You might want to add a skill or skip a lesson that your students already mastered. As students add their notes, they should keep track of them on the Table of Contents pages!
Sample of table of contents:




I like the Pacon Chart Tablets:
4. TABS AND COVER SHEETS
Get Your FREE Notebook Cover Sheets and Tabs Now!
Although I am suggesting page numbers for each section, keep in mind that this goes along with my writing bundles. You may need a different amount for your curriculum. Also, I highly recommend to do the sections as you go. There will be some students who will make a mistake and need more pages. I added a page or two to the bigger sections to allow for this, but if you don’t have help in your classroom, it is a difficult task to do all at once with your class.
Rough Draft: If you choose to do the sections as you get to them, you have two options for the rough draft section. Your first option is to count back 20 pages and place the tab there. Your second option is to write the rough draft within each piece of writing. Use the rough draft section to create stories, and revise and edit them. Write the final drafts on a separate (final copy) paper and place them in the writing portfolios. Here is the breakdown of what your students’ writing notebook should look like by the end of the year:
- Table of Contents- 4 pages using front and back
- Ideas- 5 pages using front and back
- Sentence Structure- 3 pages using front and back
- Paragraph Writing- 5 pages using front and back
- Writing Process- 1 page using front and back
- Narrative Writing- 20 pages using front and back
- Opinion Writing- 17 pages using front and back
- Informative Writing- 17 pages using front and back
- Rough Drafts- the rest of the notebook
Also included in my FREE cover pages and tabs, is a tab for DARE to Revise and a tab or CUPS for Editing. This can be used within each type of writing if you want your students to find those sections quickly.
5. WRITING PORTFOLIOS
Your students work hard throughout the year, so help them keep track of all of their hardwork! I suggest using a 3-prong folder with pockets for final copies. Collect everything that your students have published throughout the year; poems, stories, writing across the curriculum, written bulletin board pieces, etc. Place them in a folder with brass fasteners. Use the pockets for the pieces that are difficult for hole-punching. At the end of the year, your students get to keep their final product! It is a great tool to use for parent-teacher conferences and an end-of-year gift!
6. STUDENT RESOURCE FOLDER
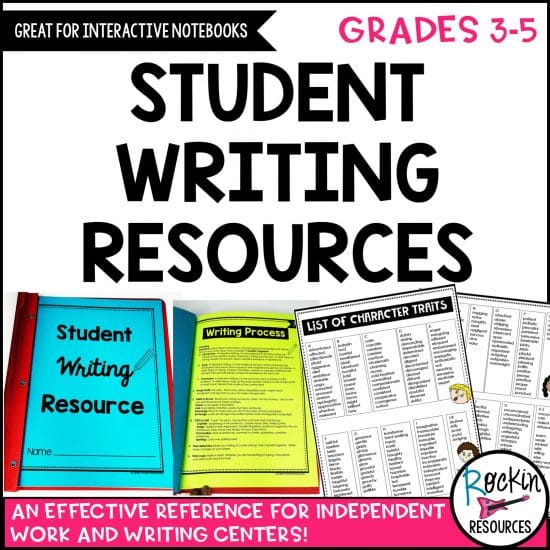
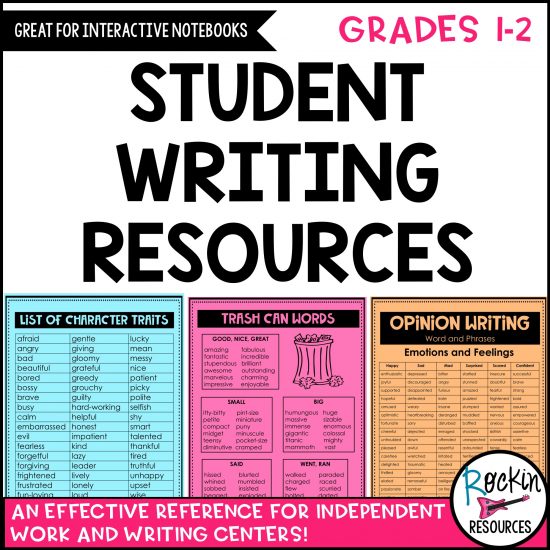
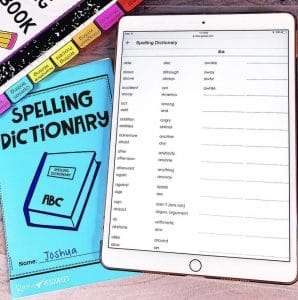
You can also use another 3-prong folder with pockets as a student resource folder. Place the FREE spelling dictionary and any resources necessary for students to use during writing workshop. Punch holes in the resource pages and place them in the fasteners. The pockets are perfect to keep things like a spelling dictionary.
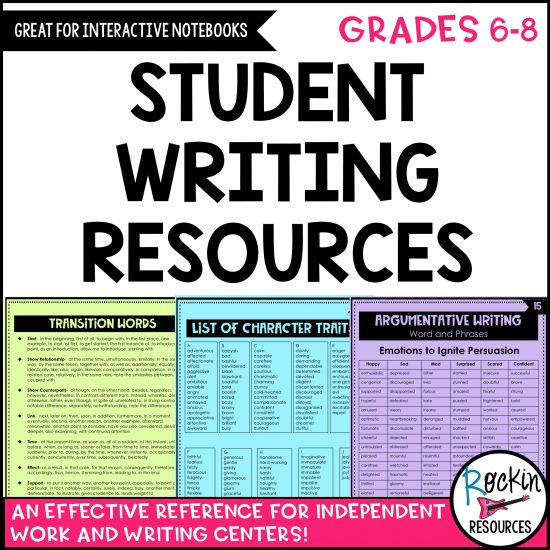
If you need already prepped and ready-to-go Student Resource Guides, click below.
DISCOVER RELATED RESOURCES:
-
1st Grade Step-by-Step Writing® Program
Original price was: $100.44.$70.00Current price is: $70.00. -
2nd Grade Step-by-Step Writing® Program
Original price was: $100.44.$70.00Current price is: $70.00. -
3rd Grade Step-by-Step Writing® Program
Original price was: $100.44.$70.00Current price is: $70.00. -
4th Grade Step-by-Step Writing® Program
Original price was: $100.44.$70.00Current price is: $70.00. -
5th Grade Step-by-Step Writing® Program
Original price was: $100.44.$70.00Current price is: $70.00. -
6th Grade Step-by-Step Writing® Program
Original price was: $100.44.$70.00Current price is: $70.00. -
INTERACTIVE STEP-BY-STEP® WRITING PROGRAM ULTIMATE BUNDLE
Original price was: $379.00.$189.00Current price is: $189.00. -
Middle School Step-by-Step Writing® Program Grades 6-8
Original price was: $100.44.$70.00Current price is: $70.00. -
STEP-BY-STEP DIGITAL WRITING PROGRAM FOR MIDDLE SCHOOL
Original price was: $100.44.$70.00Current price is: $70.00. -
STEP-BY-STEP WRITING® Program for GOOGLE and POWERPOINT
Original price was: $104.99.$70.00Current price is: $70.00. -
Upper Elementary STEP-BY-STEP WRITING® Grades 3-5
Original price was: $100.44.$70.00Current price is: $70.00.


